
Ever seen a cool looking festival/utility belts, you easily make your own with an old pair of trousers and scraps of fabric. It can be used at festivals but staying on the theme of Upcycled Baby items you can keep your own bits and pieces in it when you’re trying to juggle baby and paraphanalia! I made this festival/utility belt up as I went along, but you can let your imagination run wild for pockets and trims.
MATERIALS
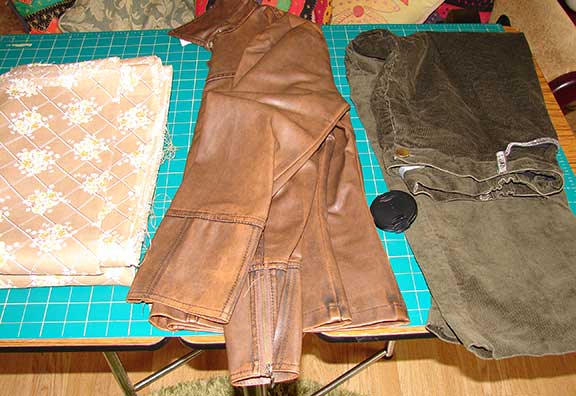
I started with a pair of cords, a fake leather jacket, (both off bargain rail in charity shop) and some vintage fabric given to me by my Mum..
Instructions
I wanted the belt to be adustable, size 10 to 14 (UK measurement) so I cut off the trouser legs (leg length was 30″), turned one leg inside out then put one leg inside the other right sides together.
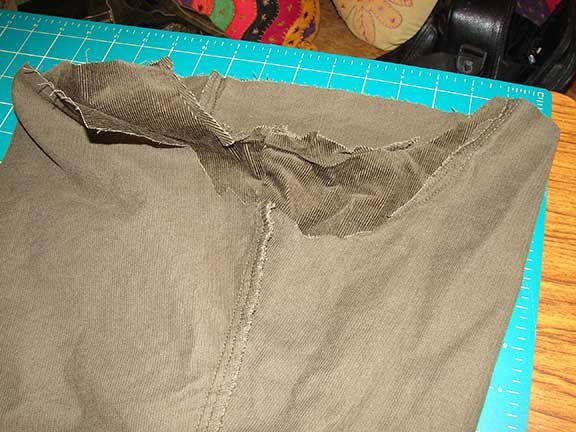
Cut along the top to straighten, then pin and stitch.
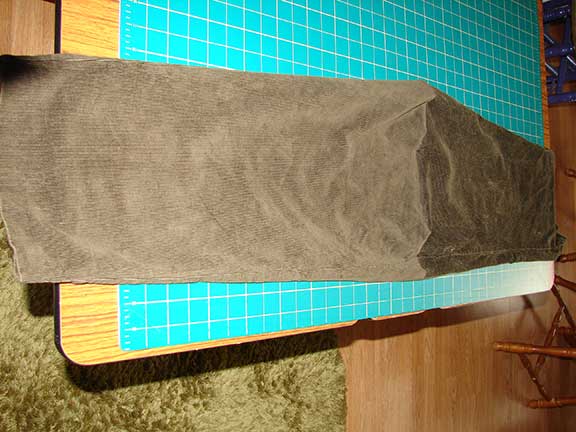
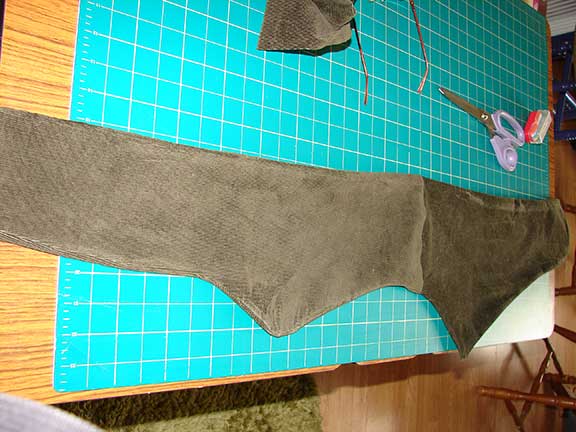
Turn right side out and you’ll be left with a long tube.
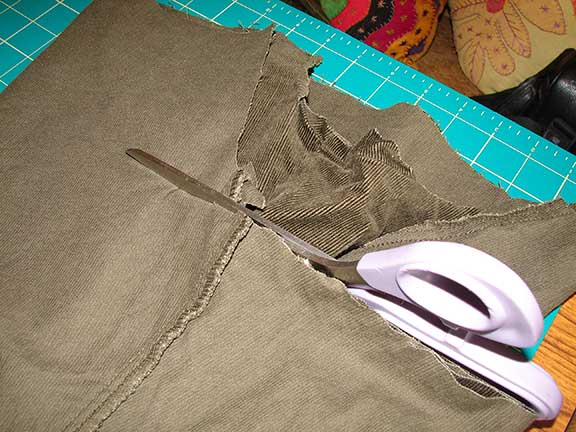
The next thing to do is shape the bottom edge, I used an existing festival belt for this,.Turn the tube inside out and draw the shape with tailor chalk then cut it out.
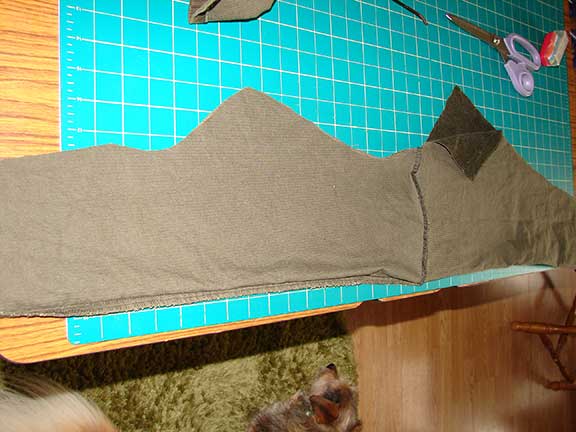
Stitch along 2 long sides and 1 short side, if you don’t use an overlocked seam trim (use pinking shears if you have them). Turn right side out and give it a press.
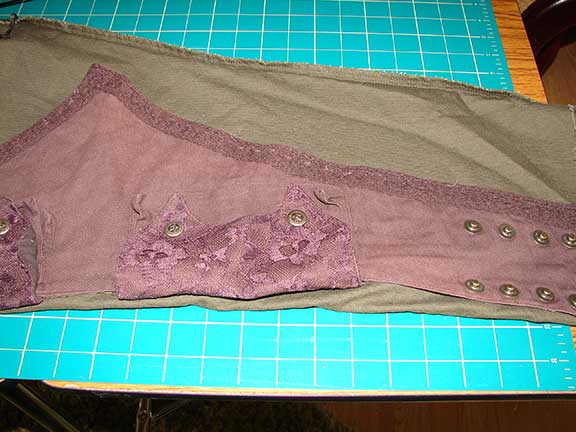
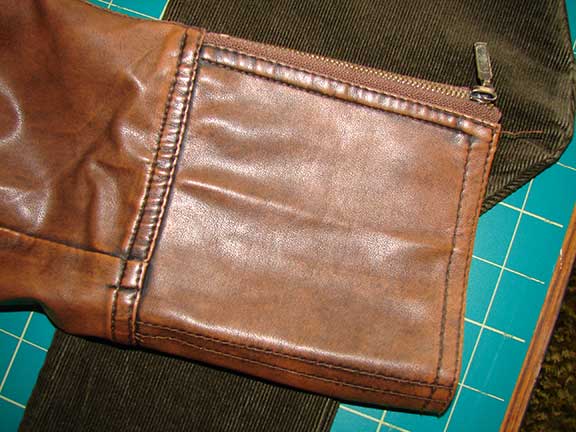
This is the basic belt so now it’s time to think about pockets. The jacket already had zips in the cuffs so I utilised 1 cuff by cutting it off and sewing up the 2 sides leaving the zip in place.
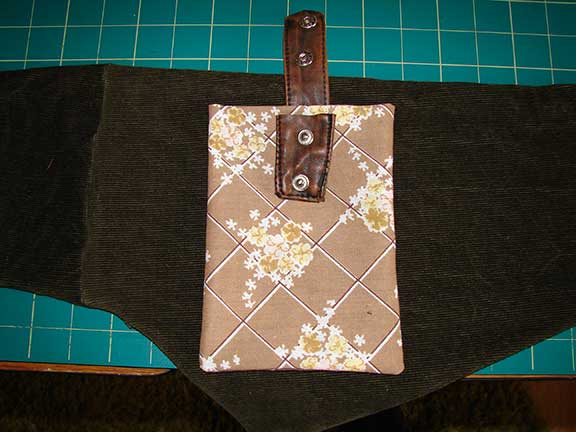
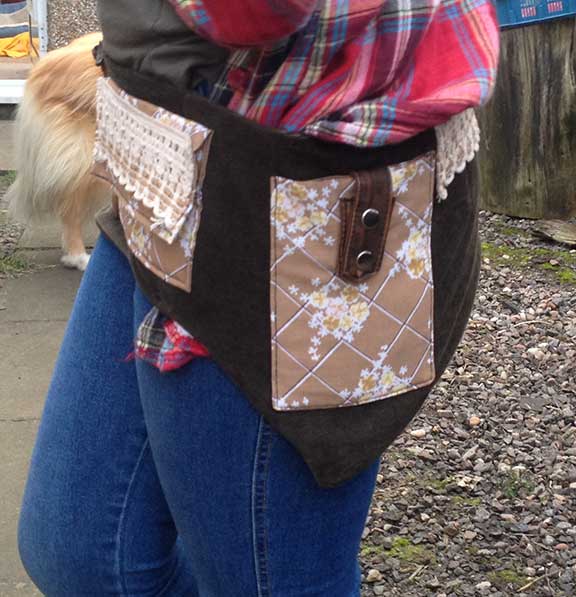
For the next pocket I used the vintage fabric. I wanted a mobile phone to fit in it so took measurements from that but doubled the fabric for extra strength. Remember to leave a bit of room to allow for the thickness of the phone.

Keeping the folded edge for the top of the pocket stitch 3 sides and trim seams. I used the neck fastener from the jacket for the fastener on this pocket, you can use your imagination here or Velco (hook and loop fastener) works well.
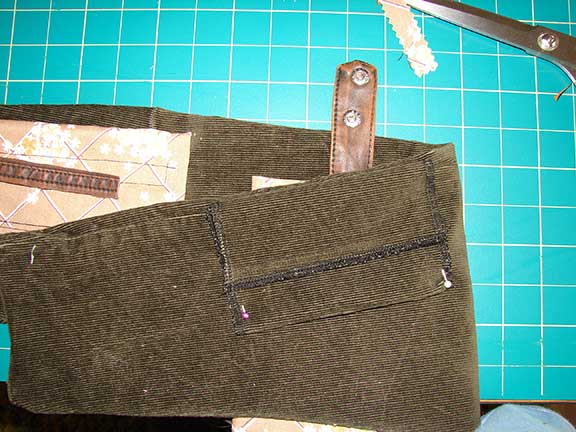
This gives you some ideas for making pockets. Depending on what you want to carry you can make pockets to suit with any scraps you have. It’s also useful to make a discreet pocket on the inside for carrying money/credit cards. I used some of the trouser fabric that was left, overlocked the edges then folded the piece so there was a flap and stitched it to the back of the belt. A bit of Velcro under the flap to fasten so there’s nothing to rub against the skin works well.
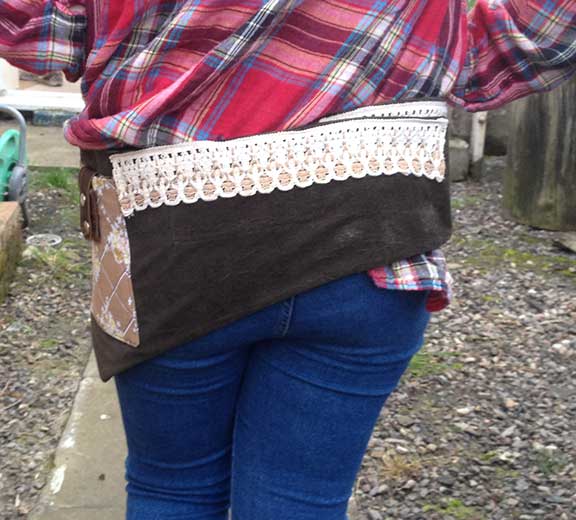
Position the pockets onto the belt then stitch them on. I had to hand sew the “cuff” pocket as the seam was too thick for the sewing machine. Sew on any fastenings. Depending on what you used or your taste a little bit of trimming can be added. I had some in my stash (picked up from a sale in Hobbycraft) which I thought was a good match.
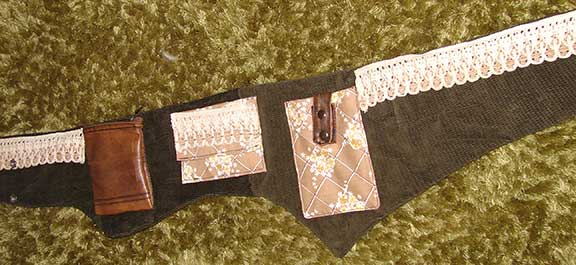
TIP: Keep your eye on the bargain bins in craft shops, there’s quite often end pieces of trimming from the large “by the metre” rolls
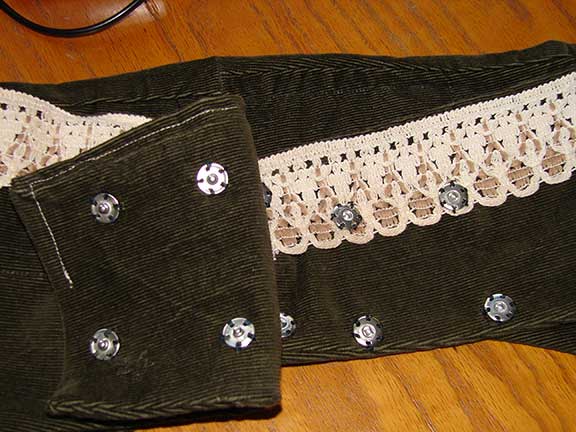
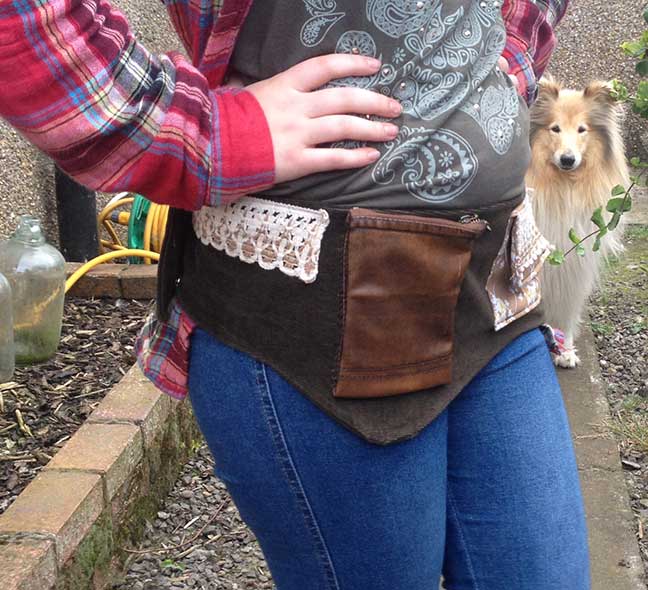
Finally it’s time to get the press studs on. To make it adustable use 6 and sew them on at an angle. It’s useful to have a model here to position the studs! I sitched mine on but you can use the snap fastener rivet type.
Finished
And that’s it, lots of scope to use your artisticness (is that a word?)! This is my grandaughter with the belt on (excuse the photobombing Rosie dog!).
I love this idea, i'd use mine when out and about as well.
Thanks Wendy, they are very handy and I've got plenty of charity shop finds to make more uniqueness (is that a word?)!! 🙂