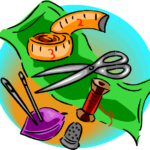
Blog Archives

Sewing Scissors

FacebooktwitterredditpinterestFacebooktwitterredditpinterest

Sewing Scissors

No matter what you’re making, whether you hand sew or use a machine,.  you need sewing scissors. Now, you can go and buy a pack of 3 at Poundland but I guarantee you’ll be swearing before you’ve finished your first garment! It’s worth investing in a good pair of dress-making scissors. ssewing cissors
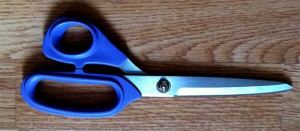
My own were a birthday present 10yrs ago, have never needed sharpening and cut perfectly, I LOVE them, I also love my Fiskar scissors, pinking shears!

My dressmaking scissors are KAI PROFESSIONAL TAILOR’S SHEARS | 25 CM which are widely available, these were a present but I believe they were bought locally.

Tip – Do not let anyone borrow your scissors under any circumstances, they’ll get used for cutting paper which is a death knell to that crisp sharp edge you want to achieve!

There are a few good brands out there but one of the best known are Fiskars, who make a wide range of scissors suitable for every task.

Another really useful tool is a pair of pinking shears (they were invented by Louise Austin in 1893). Mine are Fiskars, another birthday present and I use them in most projects. If you don’t have an overlocker they a great for finishing off seams to stop fraying and where it’s not practical to use an overlocker. You can also use them to create fancy edging for finishing trims. Amazon do a great deal on these!


Lastly, a pair of snips for cutting thread. Again, you don’t want to go cheap here there’s nothing worse trying snip threads with blunt scissors. At best you’ll get an untidy frayed edge, at worst you’ll have to saw to break the thread, taking up your precious time. Mine are Fiskars (can you tell I like the Fiskar brand!)

Mine were purchased from Ebay many years ago and have served me well. This is another pair I don’t lend out, take heed of the tip above!

For the wee thread scissors expect to pay between £6-£8, for quality pinking sheers, £15-£30 and dressmaking scissors £15-£40 but always look out for bargains there’s plenty to be found. If you can only afford 1 good pair go for the dressmaking scissors, they can be used for snipping threads too.

Finally, look after your purchase:

  •     Don’t use them for anything except fabric and thread.
  •     Wipe clean after each use.
  •     Keep the pivot screw tightened and periodically add a drop of oil wiping off any excess.
  •     Keep them sharp either by using a home sharpening tool or take them to a professional (they’ll do a better job).
FacebooktwitterredditpinterestFacebooktwitterredditpinterest

Sewing Pins

FacebooktwitterredditpinterestFacebooktwitterredditpinterest

Sewing Pins
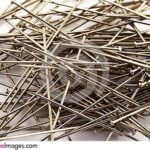
Now, you might think a sewing pins a sewing pin but I’ve learnt from experience (sometimes harsh) that this isn’t the case. As with everything there are different types, lengths, materials used and importantly, price. Better quality sewing pins will have sharper points which also stay sharp for longer. Trying to put a blunt pin through paper and fabric can be a frustrating experience!

Glass Headed Pins (nickle plated steel)- My preferred sewing pin for a number of reasons:

  • You can iron round them without worrying they’re going to melt and stick to your iron (yes I’ve done this!).
  • When you drop them (and you will) they are easy to see, getting a sewing pin in your foot is a painful experience (yes I’ve done this too!)
  • They are easy to grasp especially if you go straight from pinning to sewing and are removing pins as you sew.
  • They don’t rust.

You can buy these in different lengths, I prefer longer ones but like to keep a few short ones for tiny projects. This is the type I generally use, available through Amazon.


Plastic Headed Pins – Similar to the glass headed pins, cheaper than glass ones and a good alternative if you’re very careful with your iron.

Standard Straight PinsTraditional pins you would have seen your Gran or Mum using (depending on your age). Some people prefer to use these when going straight from pinning to sewing as you’re less likely to break a needle.

Sewing-pins

It comes down to personal preference. I drop my pins more often than breaking a needle hence my choice. All styles of pins can be bought in different lengths but for general sewing 34mm to 38mm is fine. You can also buy pins with fancy heads, they look fab but can be expensive if you’re on a budget. I found an article on how to make your own here if you fancy giving it a try.

One final tip, use a pin cushion, mine is probably the most used item in my sewing kit. You can easily make one by following this fab tutorial here .

pretty pin cushion


FacebooktwitterredditpinterestFacebooktwitterredditpinterest

Basic Sewing Stitches

FacebooktwitterredditpinterestFacebooktwitterredditpinterest

There are many different kinds of stitches so Threaded Sewing needleI thought it would be useful to have a page detailing the basic sewing stitches for beginners. Some can be done on your sewing machine and some are for hand stitching.

TIP – Always make sure your needle is sharp and clean whether you’re using a sewing machine or hand sewing. Old rusty needles just don’t cut the mustard!

A point to remember is that the same stitch can have different names, for example, “basting” is the same as “tacking”. I was taught to tack and had no idea what basting was when I first saw it on a pattern. To make it easy I’ve found some video clip tutorials, click on the blue text for the link.

  • Basting/TackingThis is used to temporarily join pieces together before sewing the permanent stitch or to gather fabric.
  • Running StitchThe technique is the same as basting only you do shorter stitches closer together. I’ll use it if I want tighter gathers than you get with the basting stitch. The video shows it being used for embroidery but it’s a good, easy to understand demonstration.
  • Back Stitch It looks the same as the basic stitch on your sewing machine and is stronger than the running stitch. You can adjust the size according to the needs of the project and fabric . Again, the video shows it being used for embroidery.
  • Zig Zag –  Even the most basic machine will have this stitch and it’s generally used to finish off a seam to prevent the ends fraying. I sometimes use it as a decorative stitch to embellish my creations. The video shows how to use the zig zag stitch to finish off a seam.
  • Overcast – This is the hand stitch used for finishing off a seam instead of the zig zag stitch. It can also be used as another way of joining 2 pieces together.
  • Hem Stitch – Hand stitch used for sewing a hem that is barely visible on the right side.
  • Blind Hem Stitch – Some sewing machines come with a special foot and settings for sewing a blind hem. Again, this is for sewing an invisible hem. The video is for a Janome sewing machine, check the instruction manual for the correct settings on your machine

These are the most commonly used basic sewing stitches and really all you need for most projects.

HAPPY SEWING!

Banner with scrap fabric, threads, ribbons and buttons

FacebooktwitterredditpinterestFacebooktwitterredditpinterest

The Benefits of Sewing

FacebooktwitterredditpinterestFacebooktwitterredditpinterest

What springs to mind the benefits of sewing
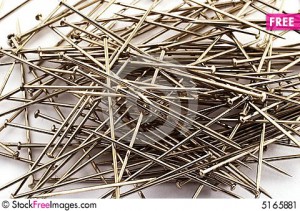
when you think about the benefits of sewing? There are all the obvious practical aspects like repairing and customising your own clothes. However, there are other benefits too, both physical and mental. If you’re thinking about dipping your toe into the world of sewing then reading this article will push you in the right direction!


The Practical Benefits

  • Custom made clothes and soft furnishings.
  • Refashion last season’s buys.
  • Do your own repairs.
  • Save money.
  • Make great gifts.
  • Adjust store bought clothes to fit properly.
  • Upcycle old clothes (helps the environment).


You’re getting ready to go out and the button smiley
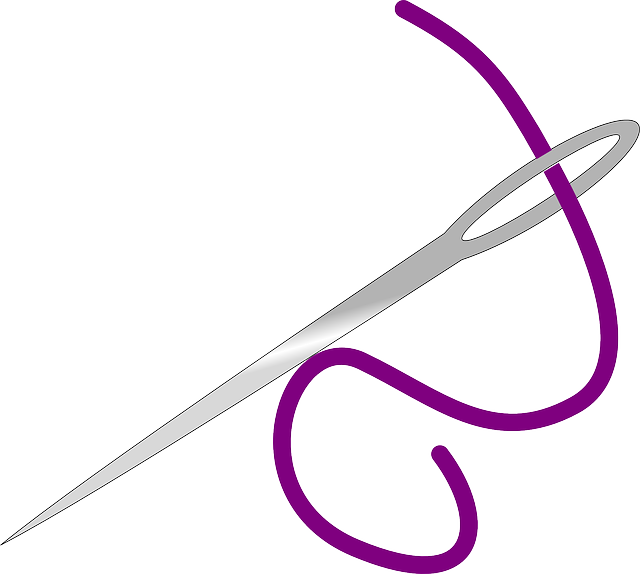
button falls off your dress, there’s nothing else you want to wear. Get the needle and thread out, sew the button back on, job done! Same scenario only this time the hem is coming undone. A few quick stitches and you’re good to go.


Your friend has had a new baby Baby with Taggie Blanket
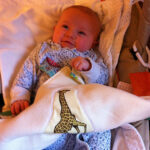
and you’re struggling to think of a suitable gift. You know everyone will have already bought cute tiny baby clothes, half of which won’t get worn before the baby grows out of them! Make this plush baby toy or taggie blanket. a personalised gift that will get used for a long time.


You like that skirt you tried on and it is such a good price but just doesn’t quite sit right on the hips. Just a couple of cms off the side and it’ll be perfect, a simple task for any seamstress.


You have some spare curtains since Baby Christmas dressyou changed your soft furnishings or someone gifts you a pair. Upcycle into something else like a Christmas dress or a cute summer dress for baby


These are the more practical aspects of the benefits of sewing; however, sewing has other benefits too.

Physical and Mental Benefits

  • Hand and eye co-ordination.
  • Research commissioned by the Home Sewing Association revealed that sewing can produce a drop in heart rate and blood pressure.
  • Exercises the hands, arms and shoulders
  • Keeps the fingers nimble.
  • Social benefits (joining a sewing group)
  • Enhanced focusing skills
  • Confidence building

It’s surprising how much Sewing Classmovement is involved in making a garment from sorting and cutting out the fabric to sewing all together. Stretching, bending and fine motor movements are all used in sewing.


If I started to think about what to Injured fingermake for dinner when I’m surrounded with sharp implements (i.e. needles and pins) guaranteed I’ll end up with a bleeding digit! You have to focus when you sew, which has a knock on effect with your physical health. Any form of intense focus is meditation and I’m sure many of you will have read about the benefits, here are just a few:

  • Lowers high blood pressure
  • Reduce anxiety attacks
  • Help with tension-related pain, like back ache and head aches
  • Improves mood
  • Helps the immune system
  • Increases energy levels

In the study by the Home Sewing Association person meditatinga bio-feedback system was used to analyse responses. Participants were given 5 activities to do, which included sewing. The study indicated that sewing was the best activity for relaxing. Page 34 of the Bernina magazine gives more details of this interesting study.

It’s a very satisfying feeling when someone compliments you on something you’ve made and you can say “I made that.” Good self esteem also equals good health!

Sewing has made a comeback in recent years and there are more vocational courses being offered at local colleges, which have led to sewing circles springing up again.

sewing group
A great opportunity to get out and socialise and also good for your health!


I’ve outlined many benefits of sewing so why don’t you try it and see for yourself? Check out things to make on my blog and when you subscribe you receive a free book. It has 3 simple projects to make, which are suitable for beginners. I’d love to hear about your sewing projects and what benefits you’ve derived from them. Feel free to leave a comment below or contact me.

sewing tools


HAPPY SEWING!

FacebooktwitterredditpinterestFacebooktwitterredditpinterest

How to Read Sewing Patterns

FacebooktwitterredditpinterestFacebooktwitterredditpinterest

In this article I’ll explain how How to read sewing patterns
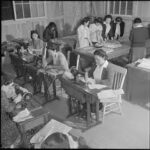
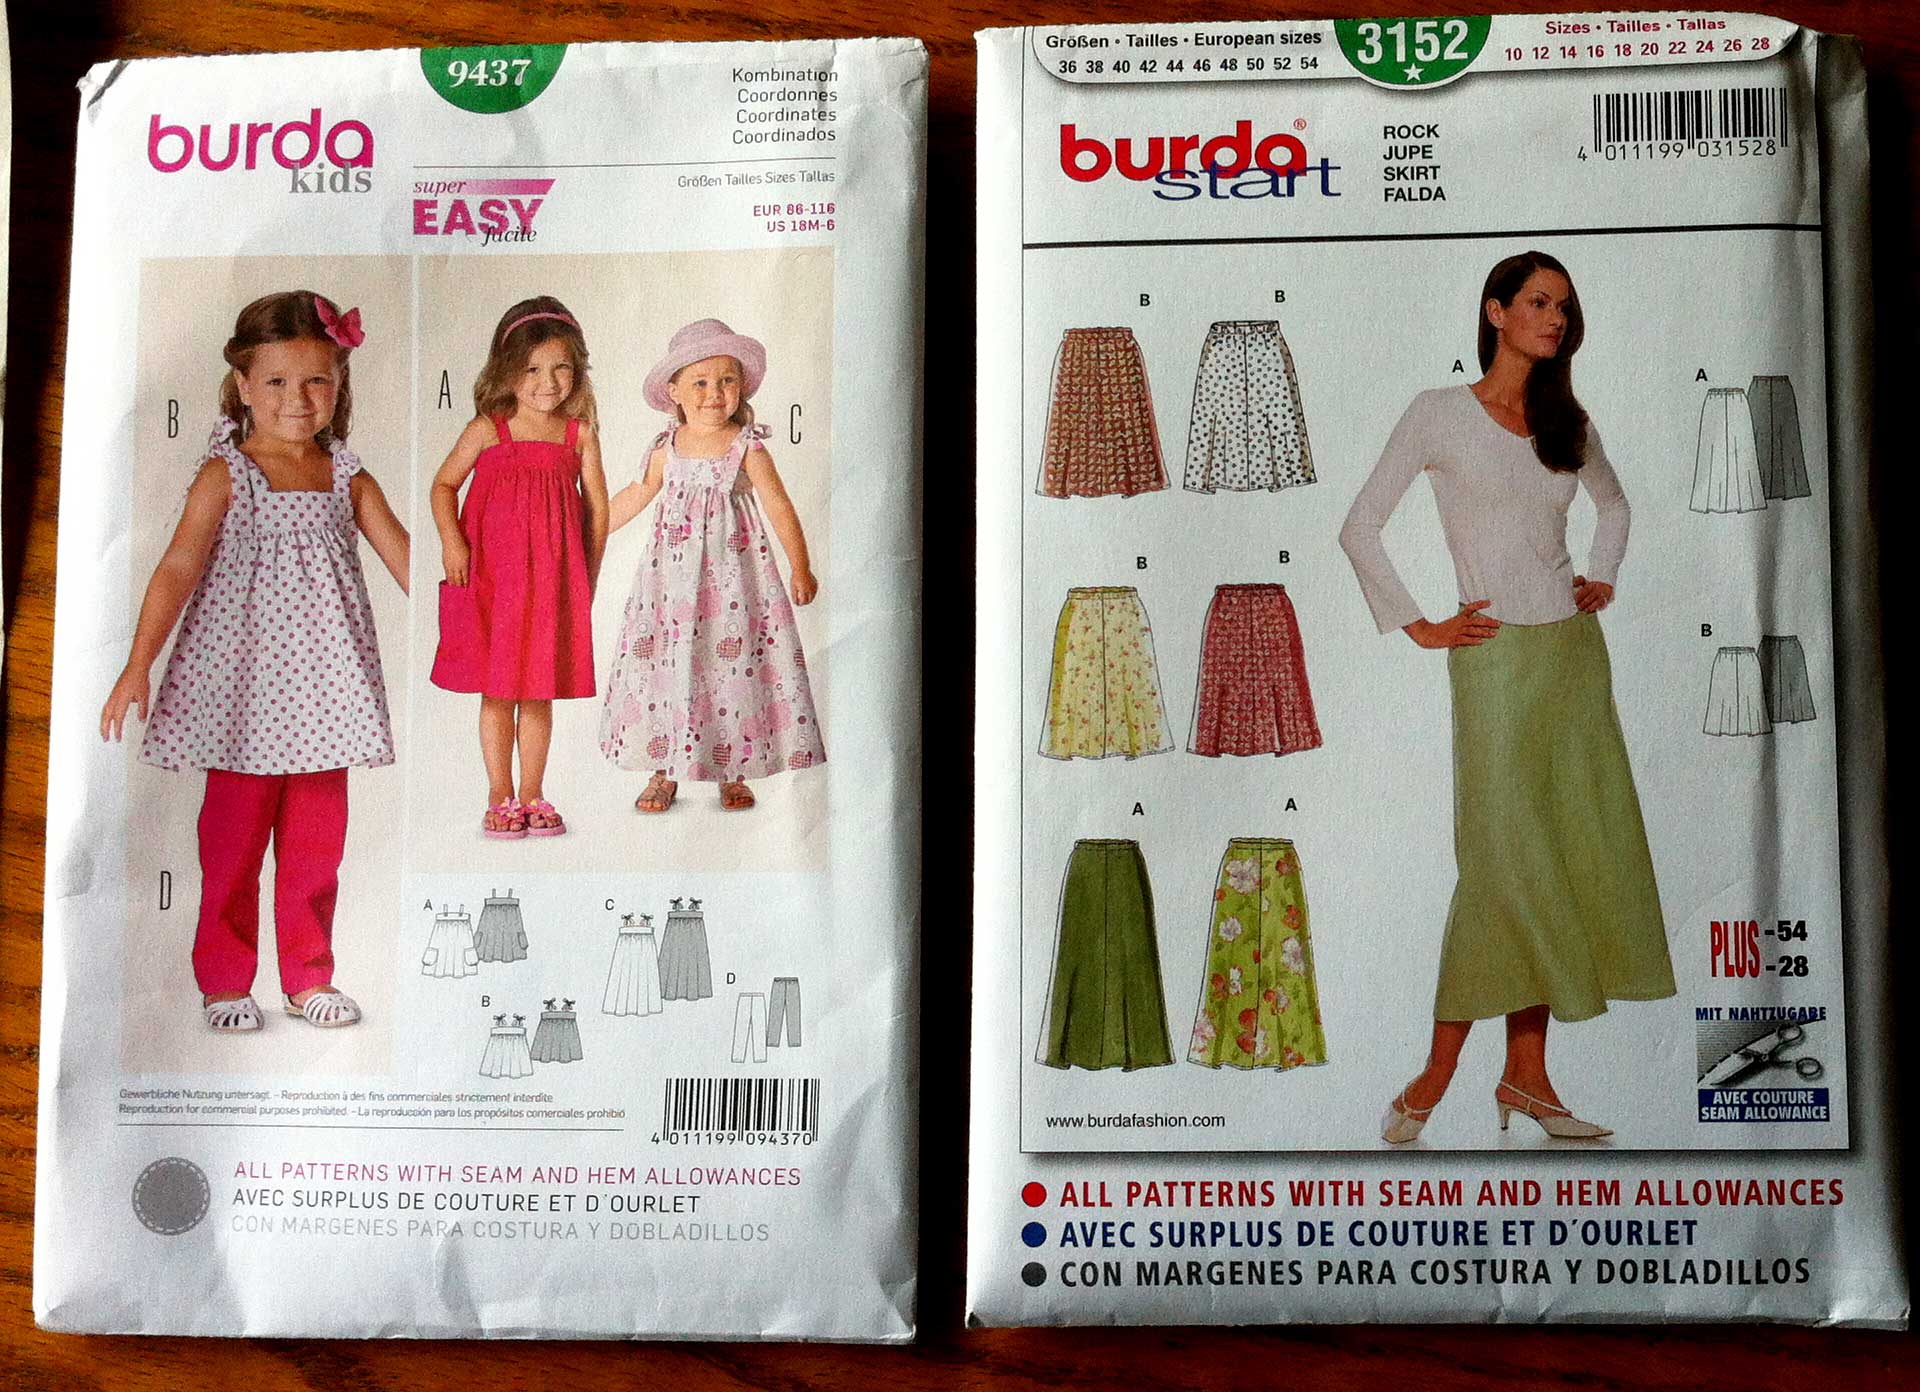
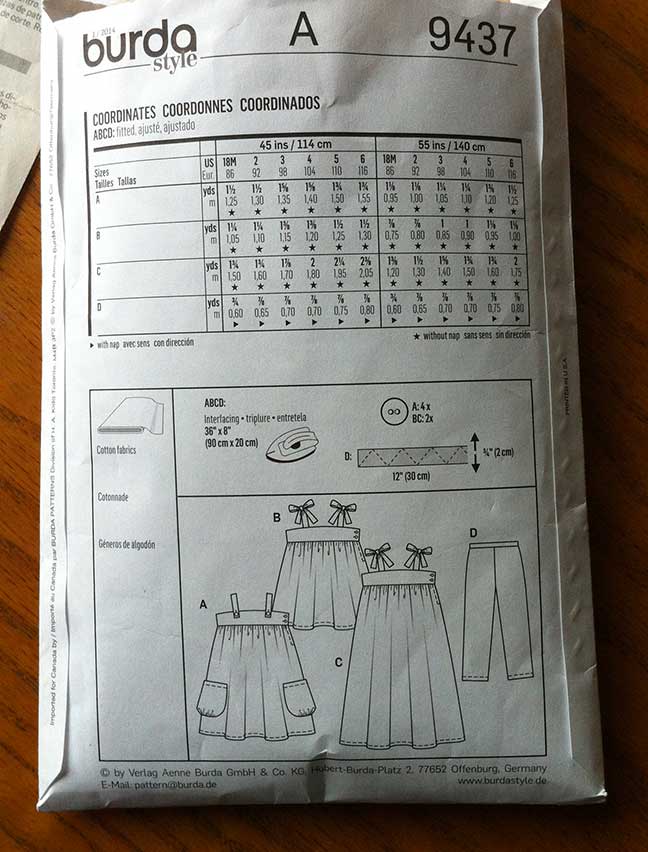
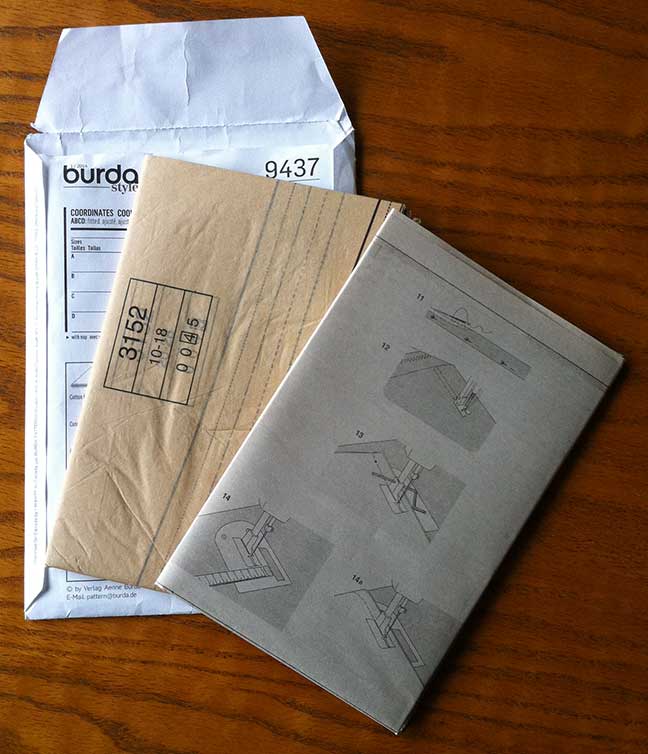
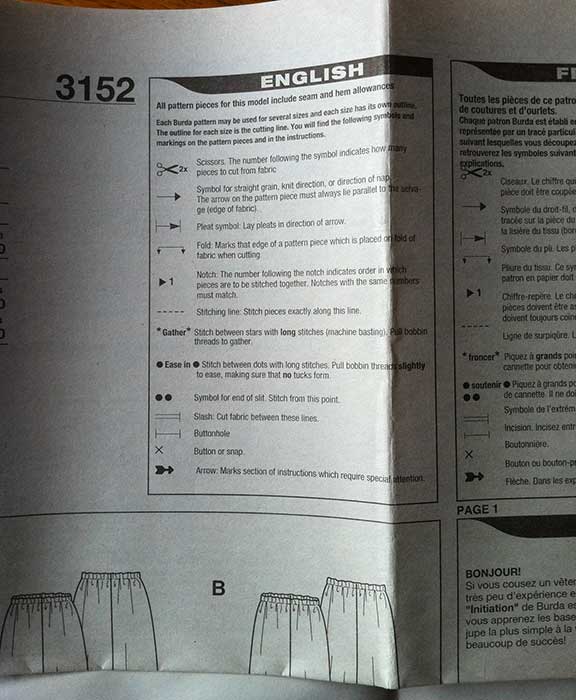
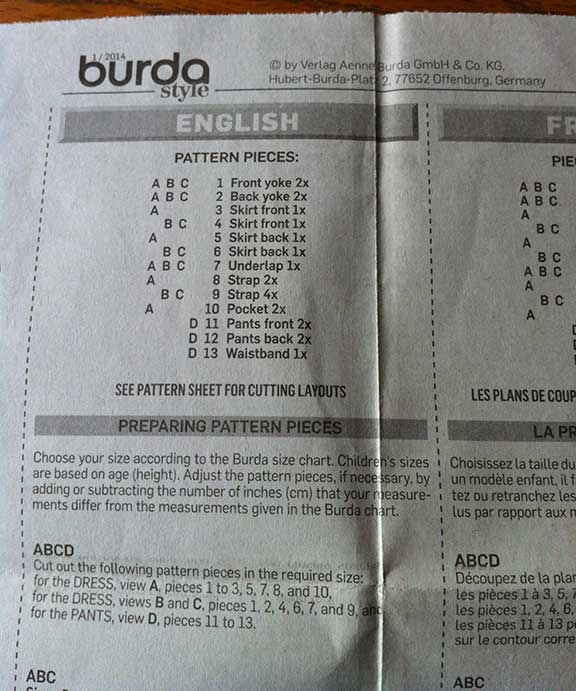
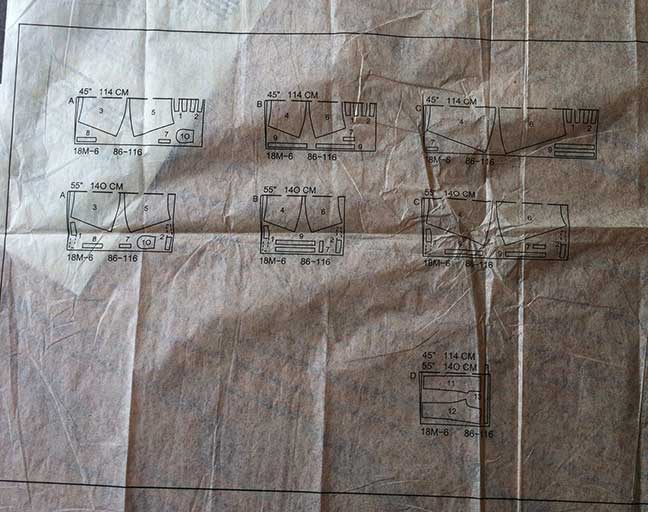
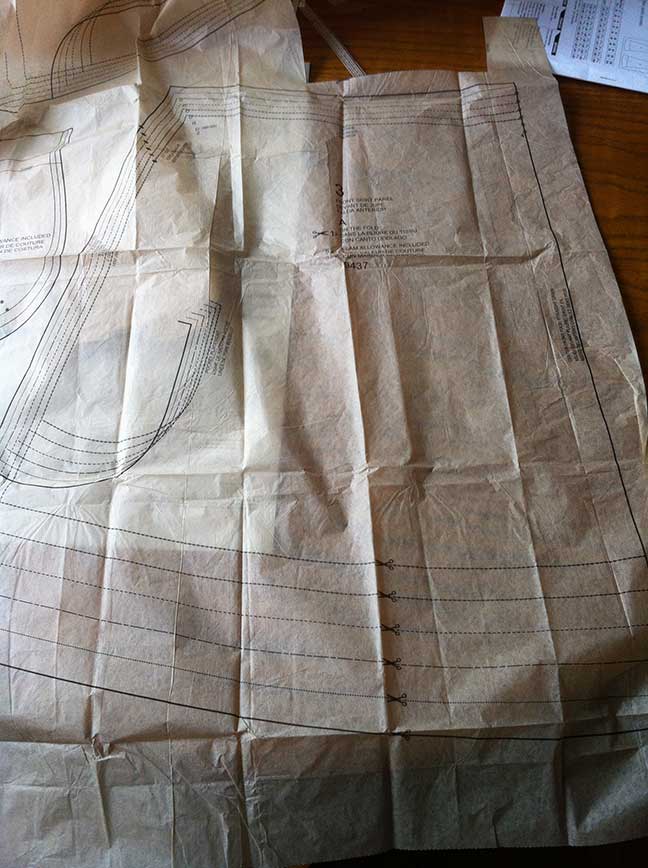
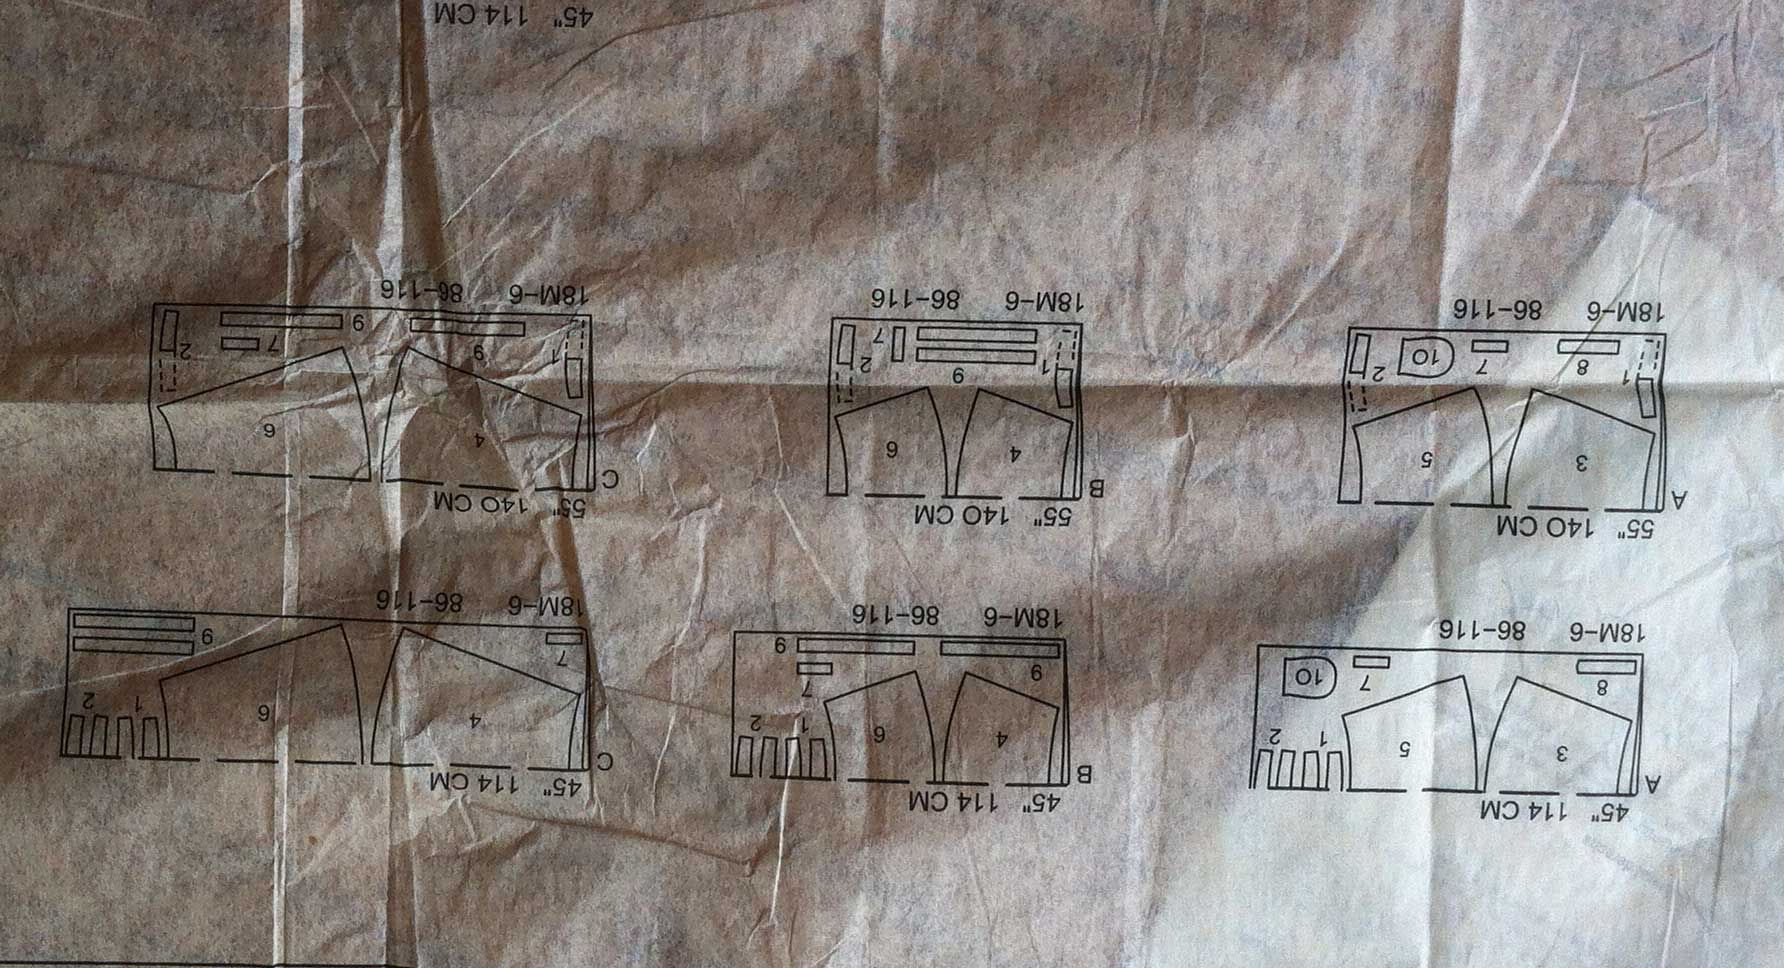
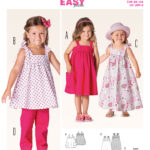
to read sewing patterns, they can be confusing if you’ve never used one before. I’ll explain the basics with images to help. The 2 most important things:

  • Buy a pattern suitable to your level of expertise.
  • Check the back to make sure you have materials needed.


I like Burda Patterns, they are easy to understand and very competitively priced.

BurdaStyle.com


On most sewing pattern Burda and Simplicity sewing patternwebsites there’ll be a selecter for choosing which level you want which is also shown on the front of the pattern. On the front you’ll also see different variations (called views) which are alphabetically labeled.


Turn the pattern envelopeSewing pattern Back over and on the back it’ll show you how much fabric is needed depending on which size and view you choose. It will also recommend fabric type and which haberdashery items are needed such as buttons and interfacing.


Inside the envelope will be InseideThe sewing pattern Envelopepaper instructions and tissue paper marked with your pattern pieces. The tissue paper can be a very large piece so you might need to clear a space on the floor to get it spread out ready for cutting!


The single most important thing Instructionsbefore you start cutting is READ THE INSTRUCTIONS! Seriously even the most experienced sewers will tell you this. It will start with giving you a guide to the symbols you’ll see on the tissue paper pattern.

On the left hand side is where you’ll see which pieces to cut out of fabric and which ones out of interfacing.


Instructions2 Instructions4


Once you’ve read everything through and made sure you have everything you need it’s time to spread out the tissue paper and cut out your pieces.

TIP – Watch this video to see how to transfer your pattern onto sturdier paper for repeated use.


On the tissue paper there’ll a Laying The Pieces instructionsdiagram showing you how the pattern is layed on the fabric, make sure you keep hold of this bit for when you’re ready to start cutting the fabric. It’s easy to throw this bit in the bin thinking it’s not important (yes I’ve done this!)


All patterns will cover a range of sizesTissue paper Pattern sewing pieces and the pattern pieces are marked with the size round the cutting edge. Cut out the pieces you’ll need for your “view” following the line marked with your size.


TIP Lightly iron the creases out of the cut out paper pieces.


You’ll see lots of symbols which again are explained in the instructions (see how important it is to read them!)

Once you have all your paper pieces cut out you’re ready to pin them to the fabric and this is where you’ll need to pay attention to the symbols. A few of the more common ones:

  • fold-arrowThis is a fold arrow and you lay the pattern piece onto the fabric with this symbol on the fold.
  • double-notch Notches are used used to line up two or more separate fabric pieces when starting to sew your garment. You can mark these points with tailors chalk or by cutting a small triangle.
  • circlesSmall circles show where darts (used for shaping), button placement and things like waistline placings are, it will tell you the pattern. I use tailor tacks to mark these, this video shows you how.


Now you’re ready to pin your pattern How to lay sewing pattern on fabric pieces on the fabric following the guide I advised you not to throw away! Click on the thumbnail for a close up of the layout cutting guide. Make sure the fold line marked on your paper piece is on the fold of the fabric.


Once you have all your pieces cut out it’s time to construct your garment. Follow the instructions on the pattern step by step, (they’re written in that order for a reason!) and you’ll have a perfectly sewn garment in no time.

This is just a basic guide on how to read sewing patterns, if there’s anything else you’d like me to cover please feel free to leave a comment or contact me.


HAPPY SEWING!


FacebooktwitterredditpinterestFacebooktwitterredditpinterest