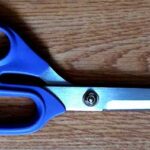
Sewing Scissors
Sewing Scissors No matter what you’re making, whether you hand sew or use a machine,. you need sewing scissors. Now, … Read more
Sewing Scissors No matter what you’re making, whether you hand sew or use a machine,. you need sewing scissors. Now, … Read more
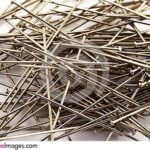
Now, you might think a sewing pins a sewing pin but I’ve learnt from experience (sometimes harsh) that this isn’t … Read more
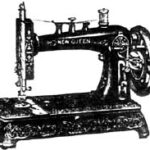
An important piece of your sewing kit will be a sewing machine and like most gadgets these days there are … Read more
There are many different kinds of stitches so I thought it would be useful to have a page detailing the … Read more
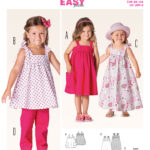
In this article I’ll explain how to read sewing patterns, they can be confusing if you’ve never used one before. … Read more
With any upcyling you want to add those wee extra touches that finish the garment off. I’m a great fan of … Read more