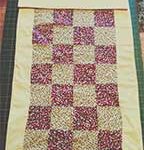
How to Patchwork Quilt – Part 3
We finished How to Patchwork Quilt – Part 2 with the patchwork completed and now it’s time to move onto … Read more
We finished How to Patchwork Quilt – Part 2 with the patchwork completed and now it’s time to move onto … Read more

In How to Patchwork Quilt – Part 1 we finished by having fabric squares prepared ready for piecing together. How … Read more
I don’t know how to patchwork quilt so take this journey with me and we’ll work together to create a … Read more

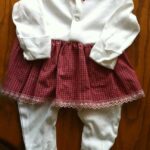
I was thinking about making a baby Christmas dress for Granddaughter Lilly and wondering about fabric when this appeared at … Read more
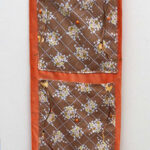
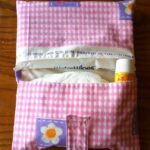
I did say I was going to do some tutorials on the “Home made Christmas Gifts” page and a wall … Read more
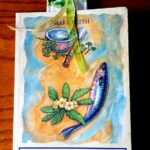
In our busy lives it’s always nice to find time to sit and read a good book. It’s also … Read more
After searching for some fabric suitable for my latest project I located a curtain pelmet which I’d stripped down into … Read more
Babies spend a lot of time in sleepsuit/onesies, they’re easy to get on and off a wriggly squirming baby! … Read more
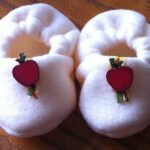
As promised I’m going to show you how to make plush baby booties like these, and the ones in an … Read more
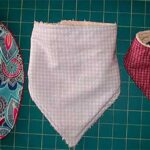
Bandana Bibs are simple to make and great for making use of fabric scraps and towels. You can use left … Read more