In this article I’ll explain how  to read sewing patterns, they can be confusing if you’ve never used one before. I’ll explain the basics with images to help. The 2 most important things:
- Buy a pattern suitable to your level of expertise.
- Check the back to make sure you have materials needed.
I like Burda Patterns, they are easy to understand and very competitively priced.
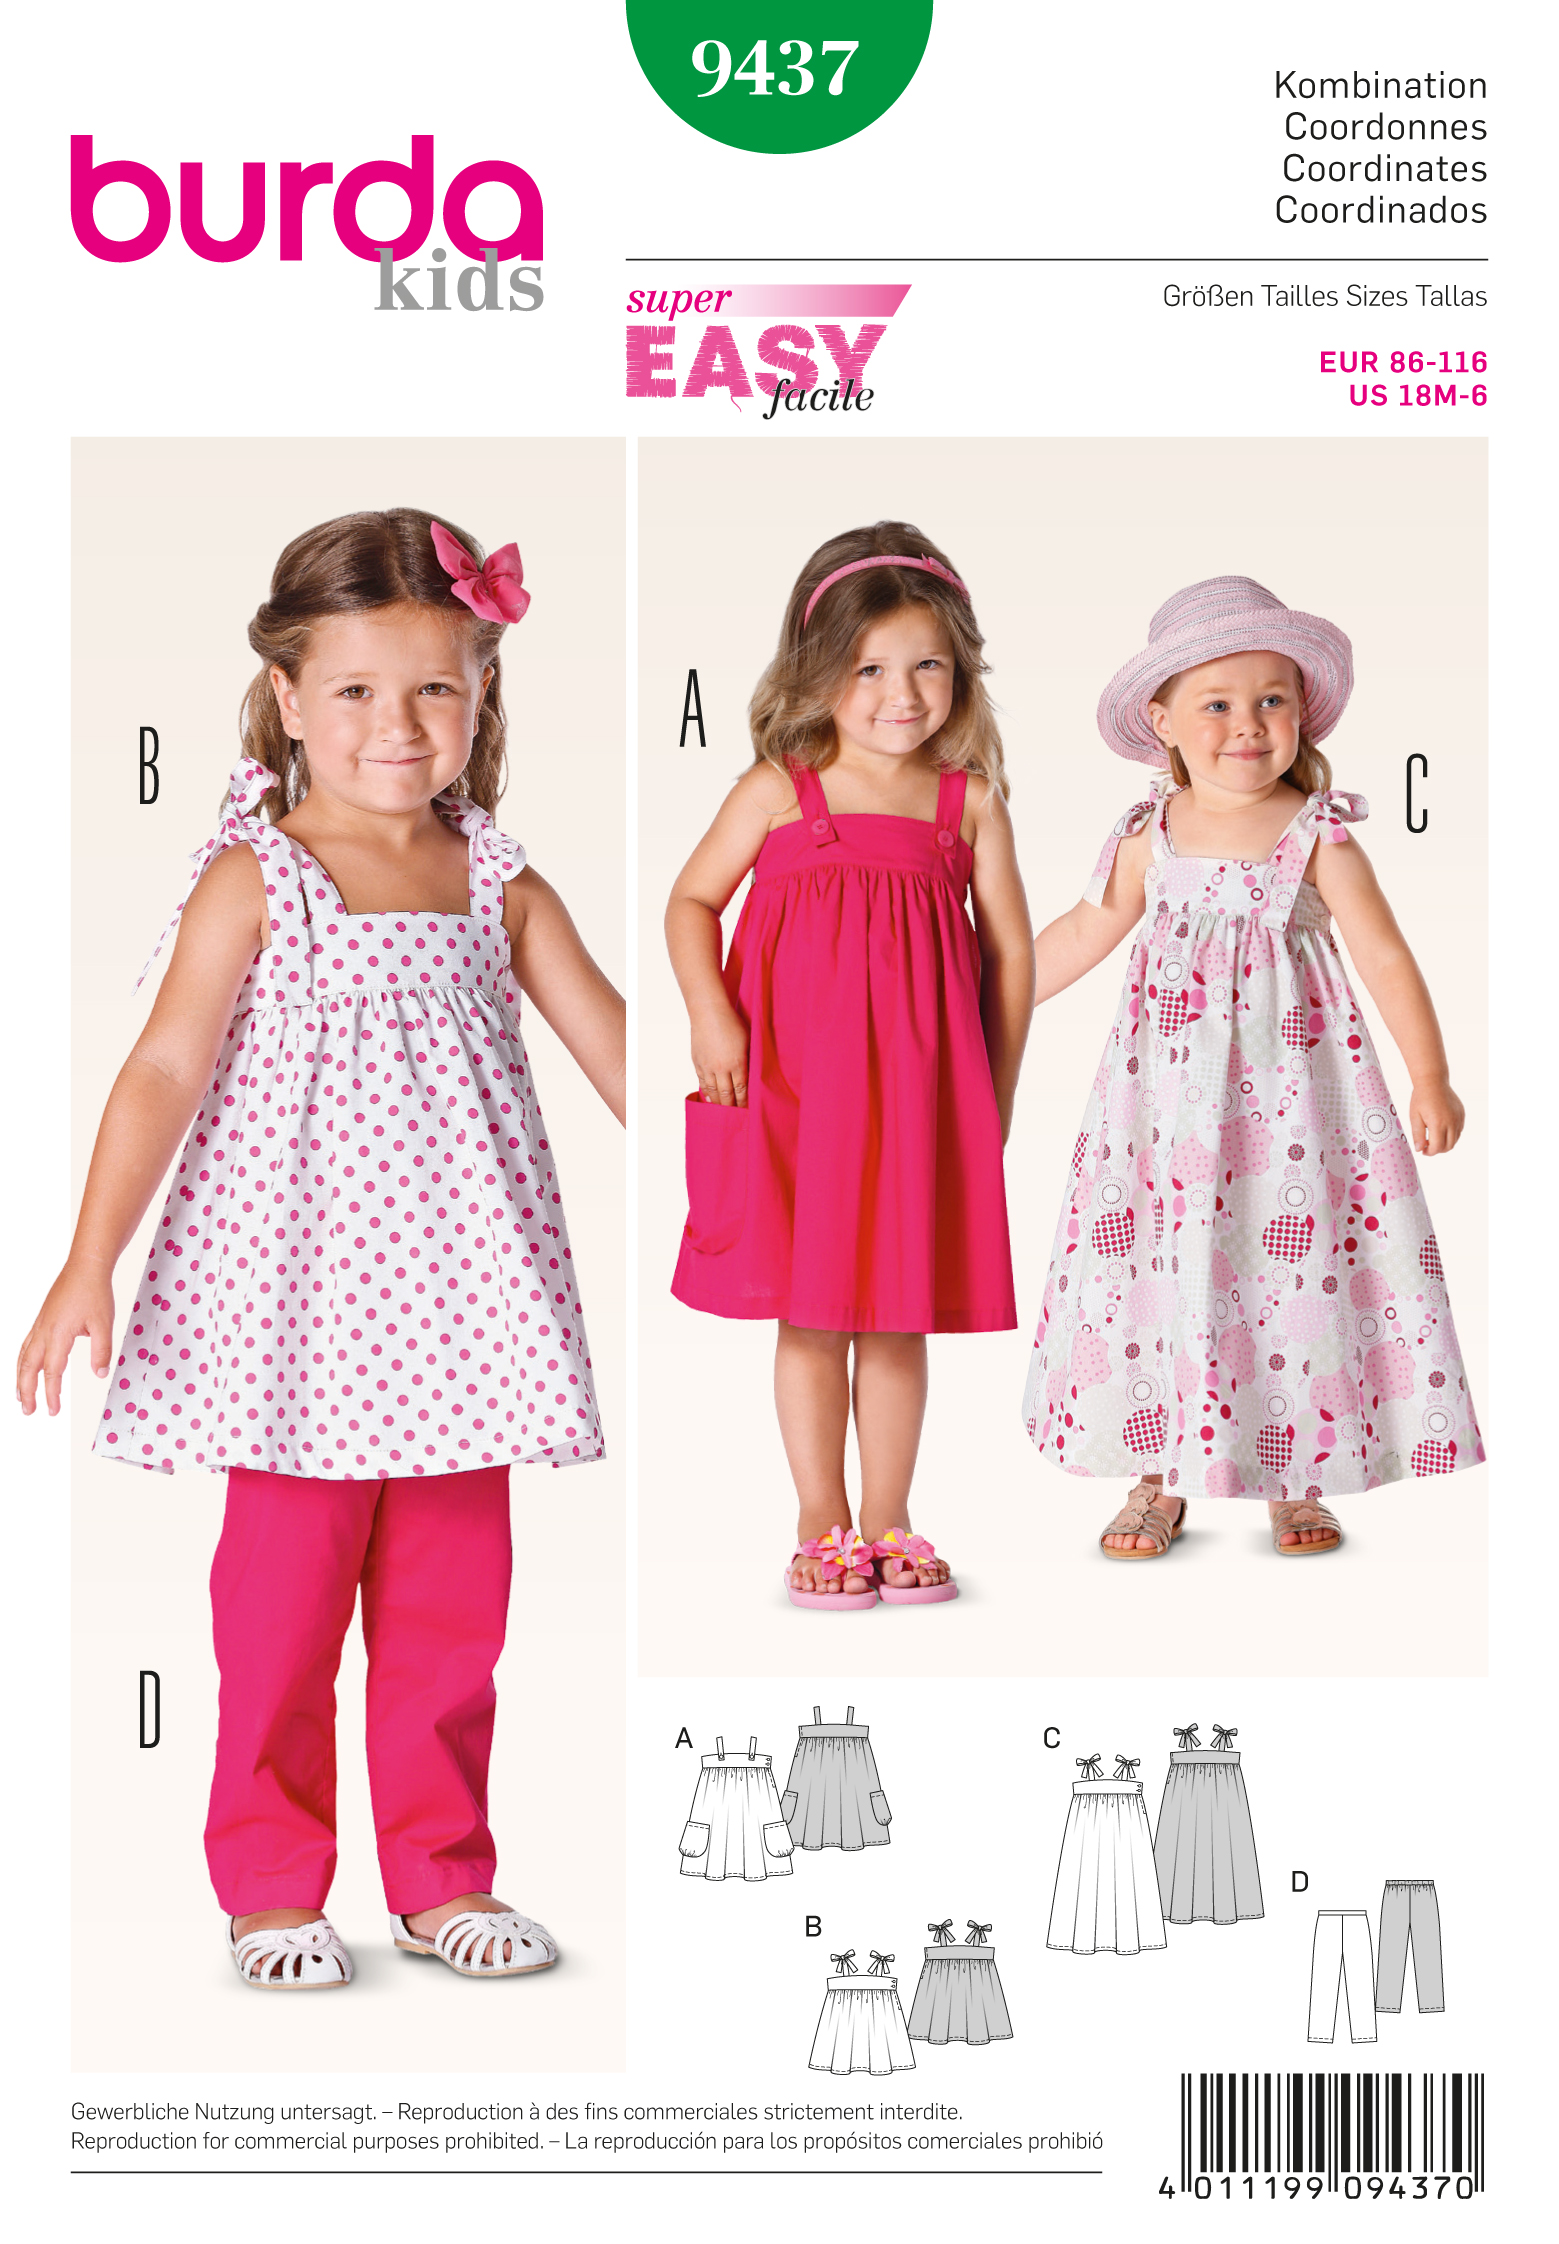
On most sewing pattern 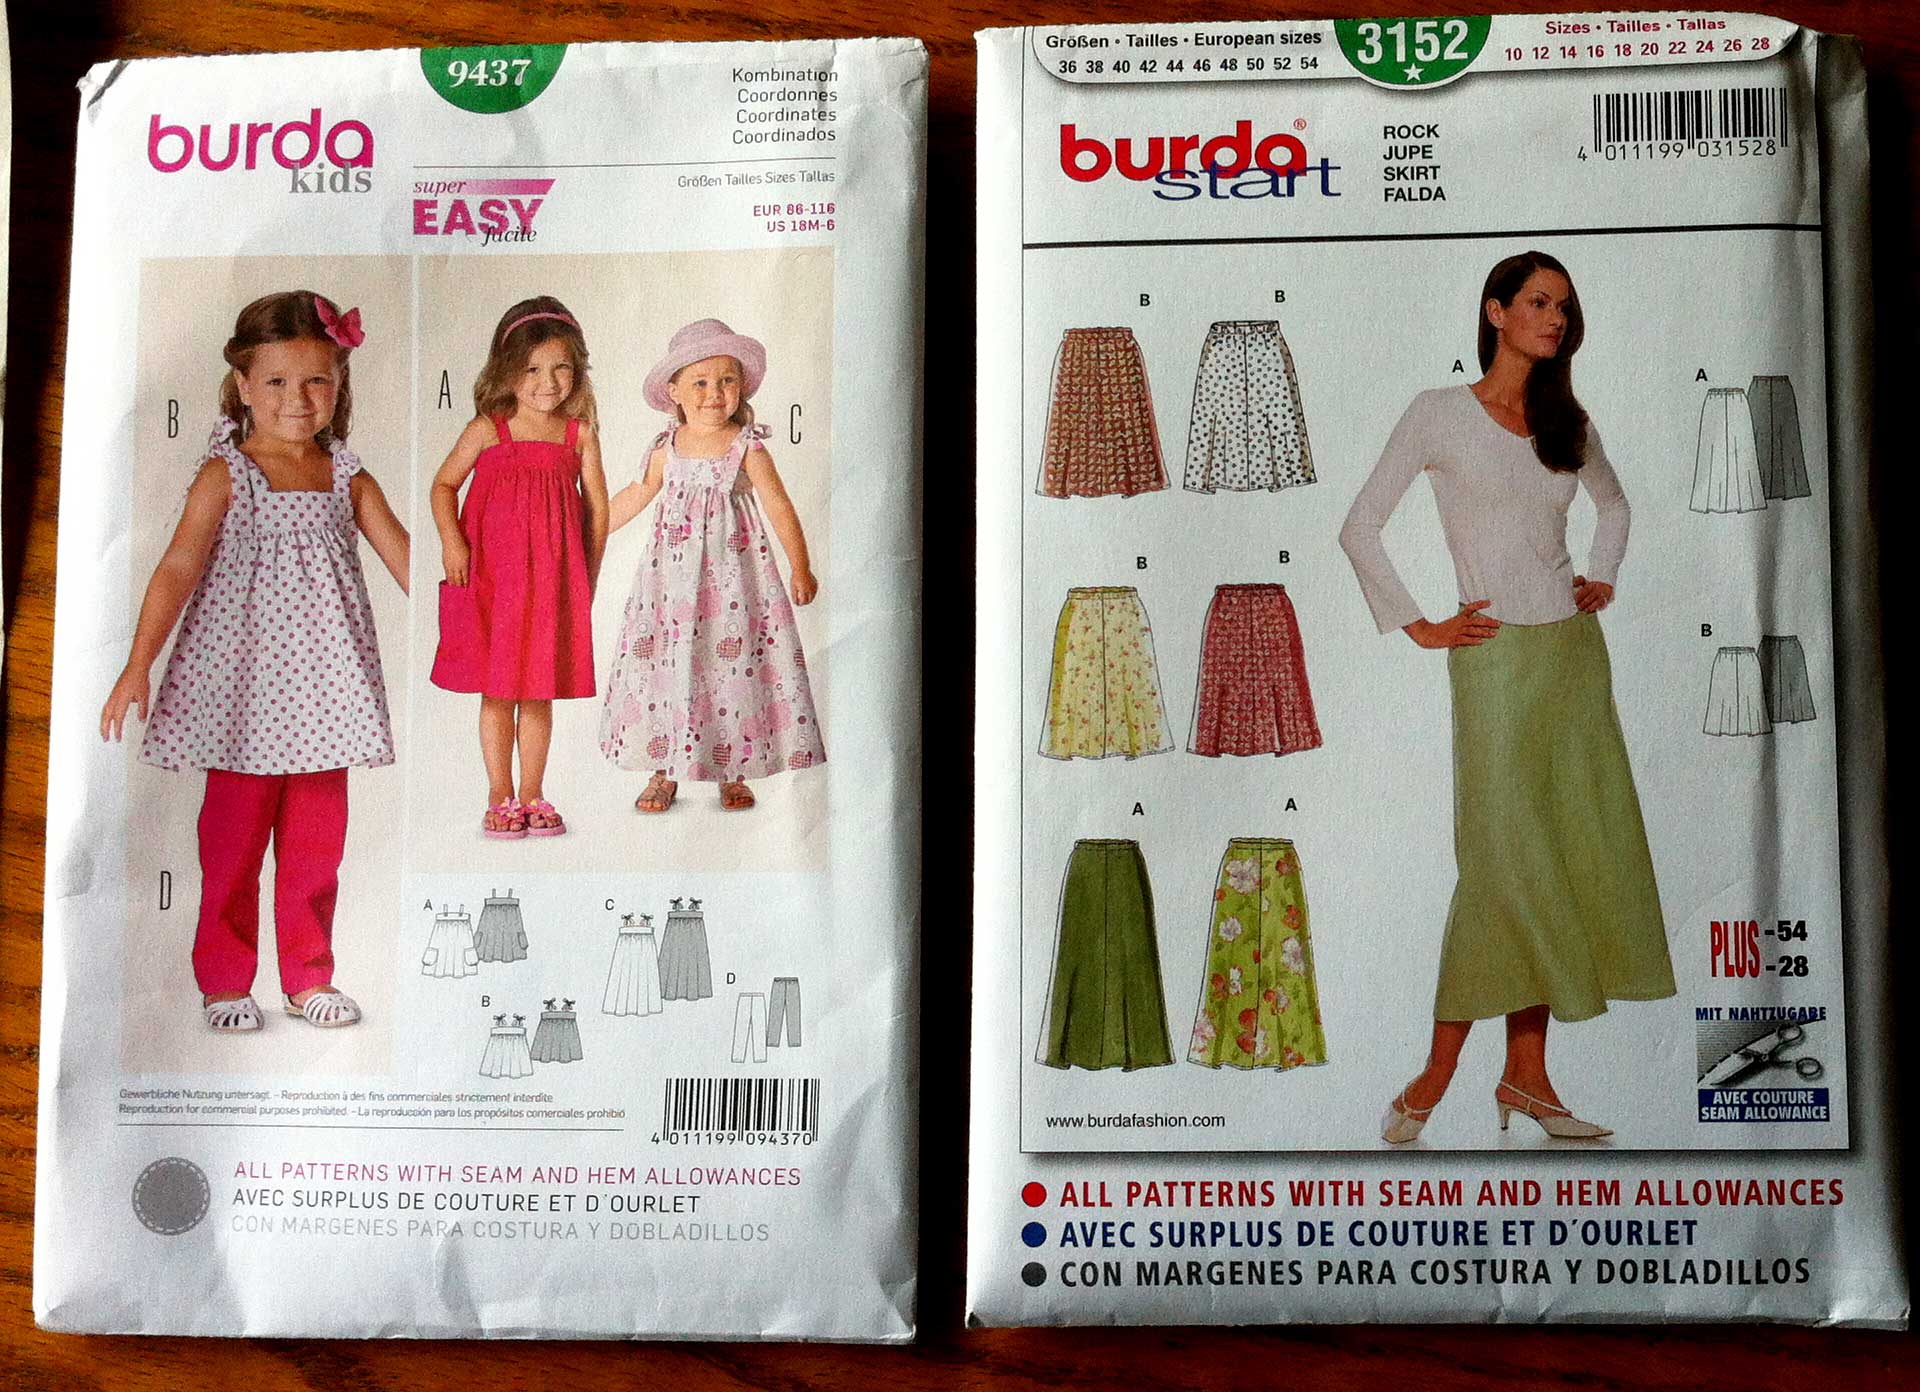 websites there’ll be a selecter for choosing which level you want which is also shown on the front of the pattern. On the front you’ll also see different variations (called views) which are alphabetically labeled.
Turn the pattern envelope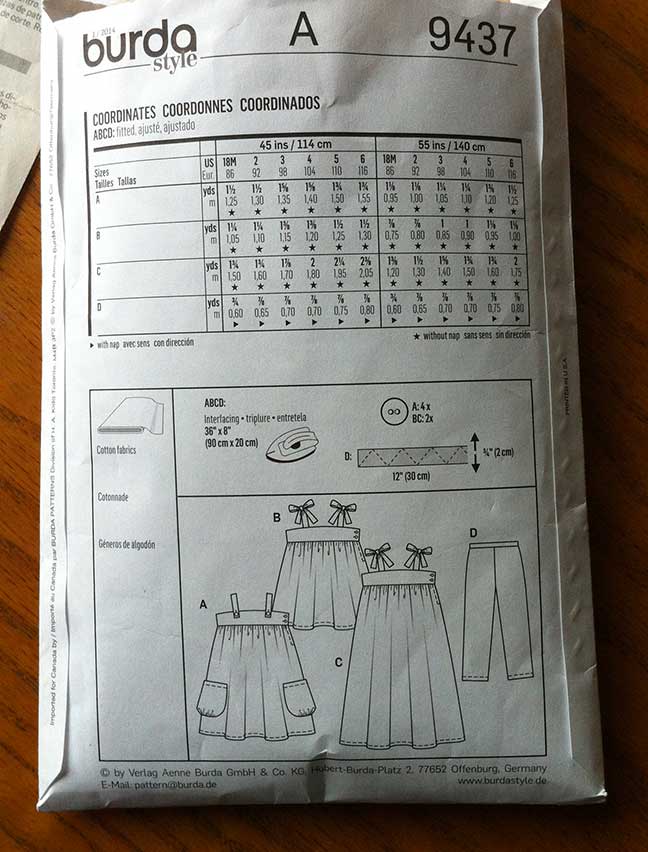 over and on the back it’ll show you how much fabric is needed depending on which size and view you choose. It will also recommend fabric type and which haberdashery items are needed such as buttons and interfacing.
Inside the envelope will be 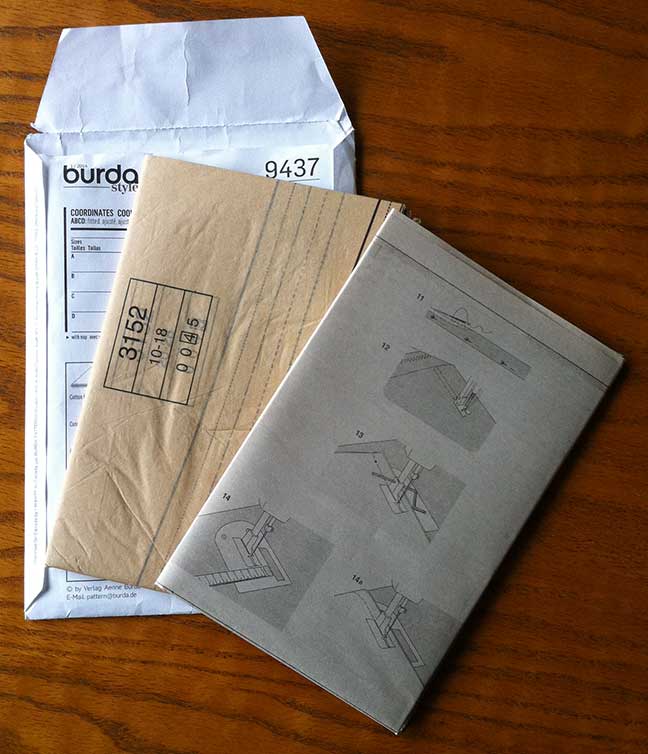 paper instructions and tissue paper marked with your pattern pieces. The tissue paper can be a very large piece so you might need to clear a space on the floor to get it spread out ready for cutting!
The single most important thing 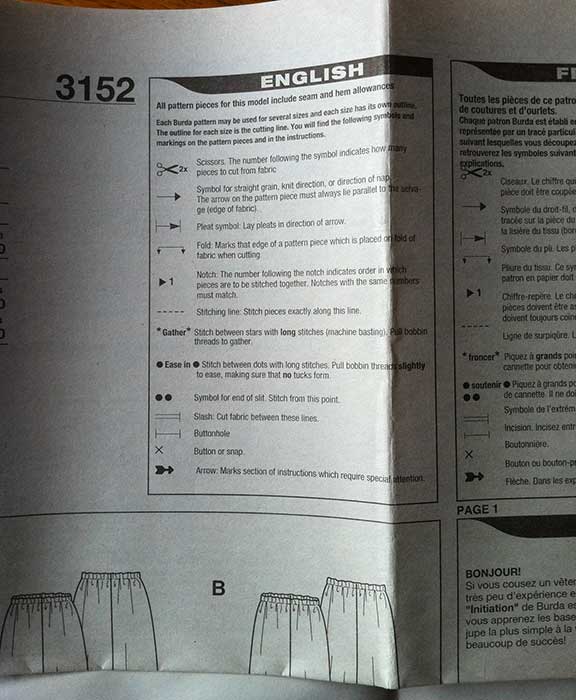 before you start cutting is READ THE INSTRUCTIONS! Seriously even the most experienced sewers will tell you this. It will start with giving you a guide to the symbols you’ll see on the tissue paper pattern.
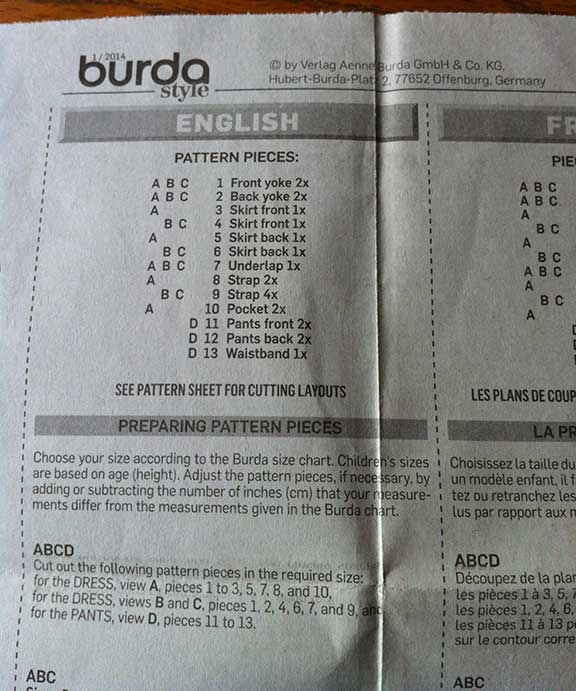
On the left hand side is where you’ll see which pieces to cut out of fabric and which ones out of interfacing.

Once you’ve read everything through and made sure you have everything you need it’s time to spread out the tissue paper and cut out your pieces.
TIP – Watch this video to see how to transfer your pattern onto sturdier paper for repeated use.
On the tissue paper there’ll a 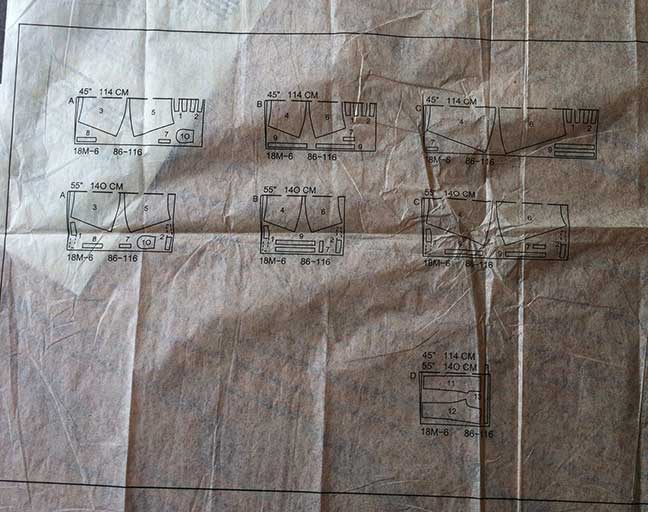 diagram showing you how the pattern is layed on the fabric, make sure you keep hold of this bit for when you’re ready to start cutting the fabric. It’s easy to throw this bit in the bin thinking it’s not important (yes I’ve done this!)
All patterns will cover a range of sizes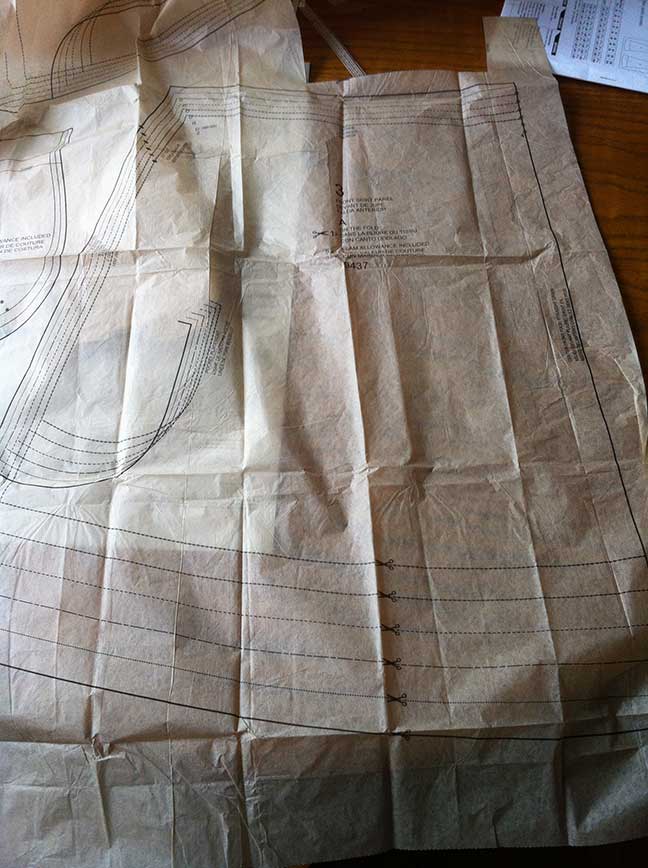 and the pattern pieces are marked with the size round the cutting edge. Cut out the pieces you’ll need for your “view” following the line marked with your size.
TIP – Lightly iron the creases out of the cut out paper pieces.
You’ll see lots of symbols which again are explained in the instructions (see how important it is to read them!)
Once you have all your paper pieces cut out you’re ready to pin them to the fabric and this is where you’ll need to pay attention to the symbols. A few of the more common ones:
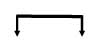 This is a fold arrow and you lay the pattern piece onto the fabric with this symbol on the fold.
 Notches are used used to line up two or more separate fabric pieces when starting to sew your garment. You can mark these points with tailors chalk or by cutting a small triangle.
 Small circles show where darts (used for shaping), button placement and things like waistline placings are, it will tell you the pattern. I use tailor tacks to mark these, this video shows you how.
Now you’re ready to pin your pattern 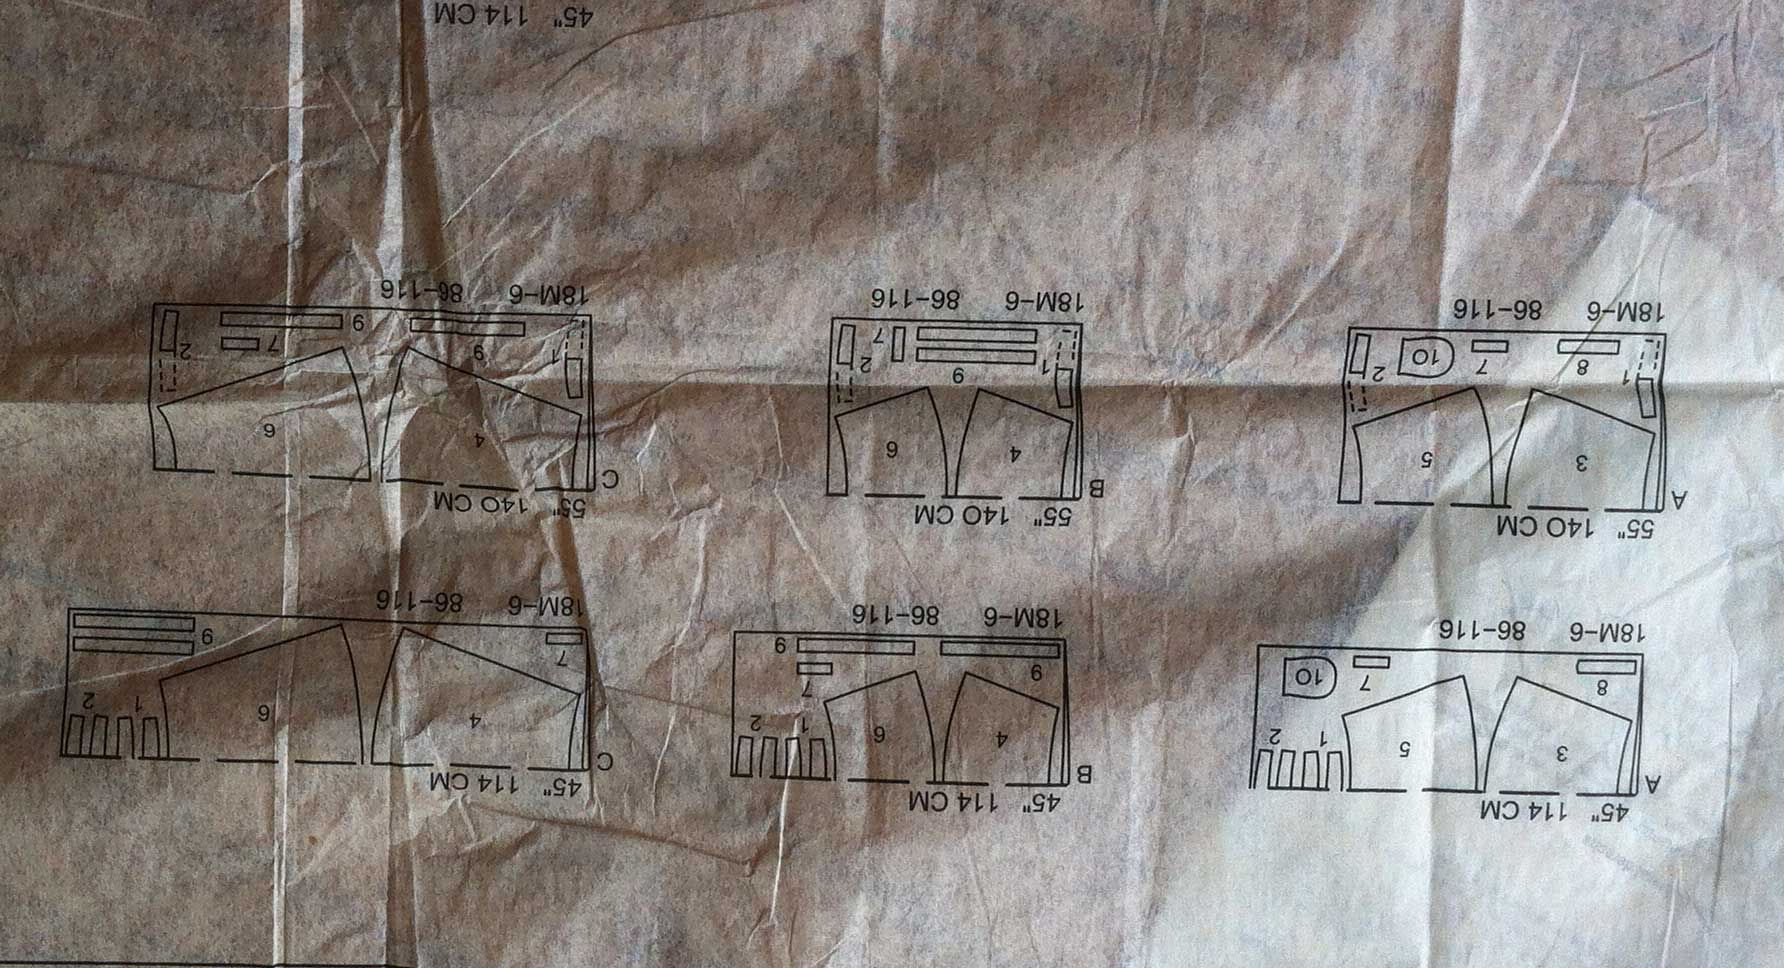 pieces on the fabric following the guide I advised you not to throw away! Click on the thumbnail for a close up of the layout cutting guide. Make sure the fold line marked on your paper piece is on the fold of the fabric.
Once you have all your pieces cut out it’s time to construct your garment. Follow the instructions on the pattern step by step, (they’re written in that order for a reason!) and you’ll have a perfectly sewn garment in no time.
This is just a basic guide on how to read sewing patterns, if there’s anything else you’d like me to cover please feel free to leave a comment or contact me.
HAPPY SEWING!
Good post Kathy. I wish I’d had something like this in front of me when I was such a dunce at Needlework at school. Mind you, I put it down to the calibre of the teacher and Miss Huggins didn’t get an A* for teaching or attitude . . . Since she was even insisting on neat tacking, I can remember unpicking (every lesson for two years) the tacking on my blouse, until by the time I had finished I had a sleeveless, collarless, everything-less blouse which didn’t fit . . . It’s a wonder I ever picked up a needle again . . .
I remember my first garment, the dirndl skirt, it was horrendous! I don’t remember ever being taught how to read sewing patters, I think my report card said something like “works hard but needs to grasp the essentials.” It certainly is a wonder any of us sewed again!
Can’t wait to get started, thanks!!
Thanks for the comment, it easier than you think once you get your head round the instructions!