
In How to Patchwork Quilt – Part 1 we finished by having fabric squares prepared ready for piecing together.
How to Patchwork Quilt Part – 2
Lay out your squares in  the pattern you want. I decided to put the cream squares down the sides, I liked the look of it better.
We’ll sew the squares together  one strip at a time. Take the first 2 squares and sew right sides together, then sew the next square on in the order you laid them out.
Keep adding the squares till 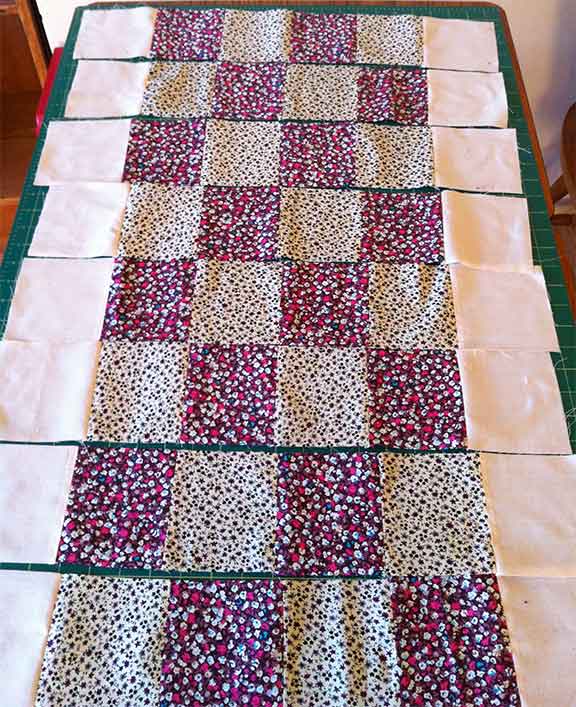 you have the first strip finished. Continue with each row of squares until you have all the rows sewn.
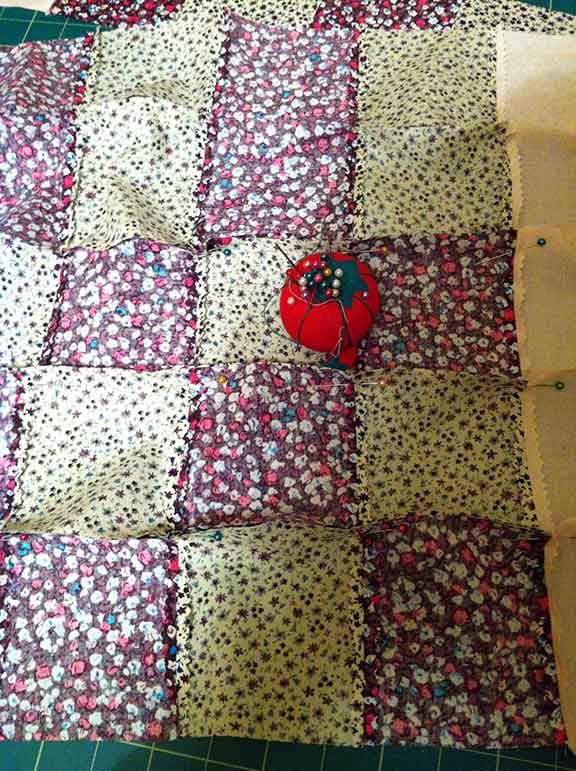
This is where you’ll see how 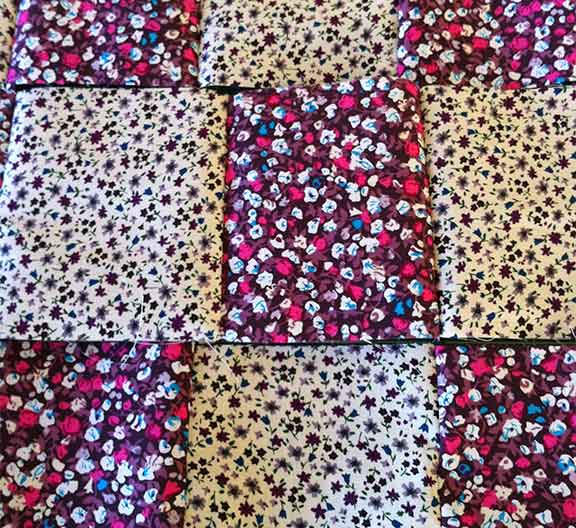 accurate your square cutting was. You can see quite clearly in the picture on the right that my squares weren’t all created equally! I unpicked this particular block and cut another square of fabric.
I thought I was being careful and accurate when I cut out the squares so perhaps I need one of those special quilting rulers mentioned in How to Patchwork Quilt – Part 1….
After redoing that strip it was 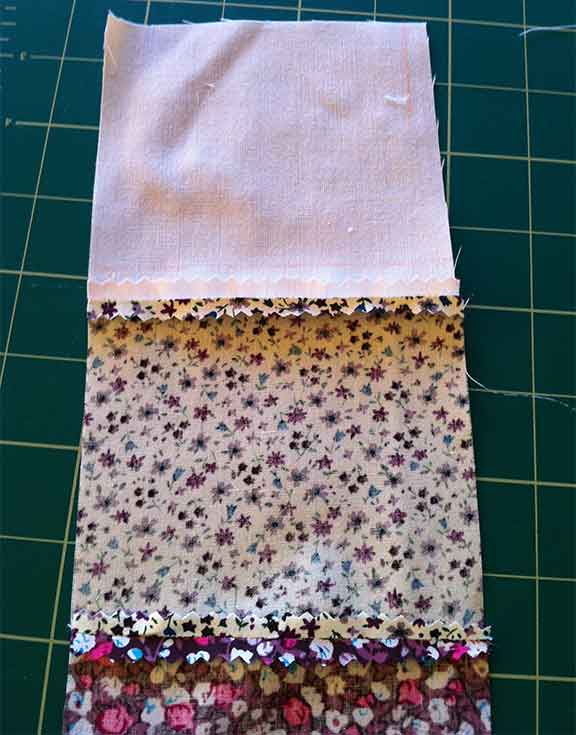 time to trim the seams, switch the iron back on and press them open.
Join the strips.
Pin the strips, right sides 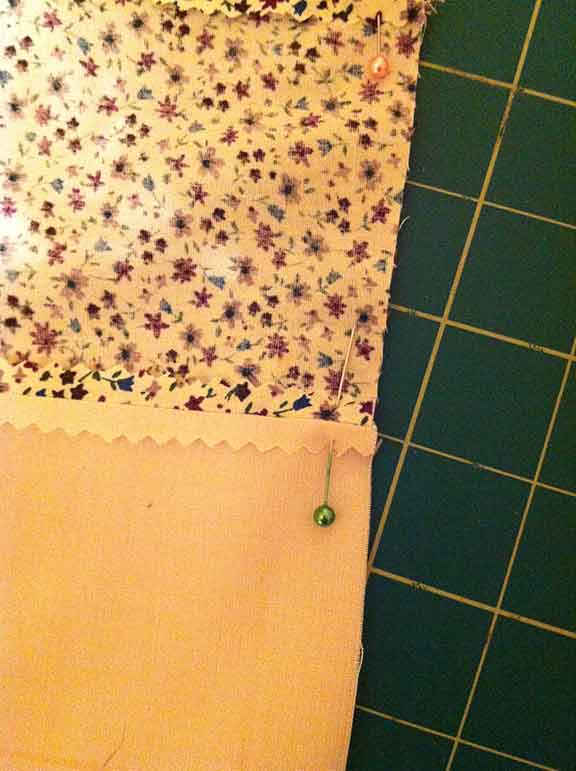 together. I pinned right on the seams to make sure the seams lined up when sewing. (Click on the image to see full size).
Sew all the strips together trying  to keep the seams aligned. Once you have all the strips sewn, trim and press.
You should now have a complete piece of patchwork!
Keeping the seams aligned 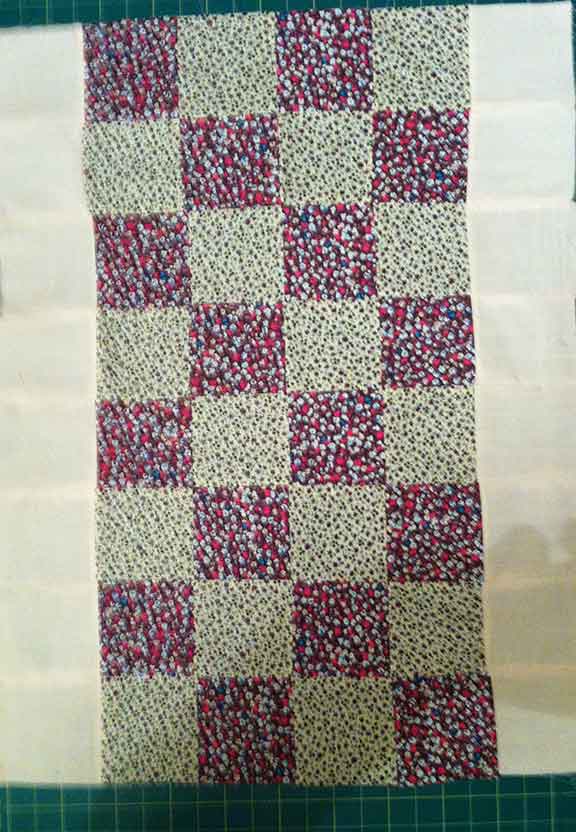 was the most challenging part. I’m sure this is one of those things where practice makes perfect. If you click to see the full size image you can see where my seams aren’t aligned perfectly but I’m pleased with what I’ve achieved so far.
How to Patchwork Quilt – Part 3 will cover making the quilt using the patchwork made in Parts 1 and How to Patchwork Quilt – Part 2. You’ll also have the opportunity to disguise mistakes made in the patchwork!
If you’ve any questions or comments about this tutorial please leave a comment below or contact me, I’d love to hear from you!
Wow, I thought quilting was much more difficult. You’ve broke it down and made it so easy to learn. Thanks for this information. I may just start a quilting project and pull out the sewing machine I don’t use. Thanks again! 🙂
Thanks Evelyn. You do get much more complex patterns of course, but I noticed there wasn’t much info on how to patchwork quilt for beginners. I made most of it up once I knew the principles behind it! Sewing machines get sad if they’re left alone in cupboards btw! 🙂
Hi Kathy. First of all, I absolutely love the colors of your website. It is just so perfect looking!
I have not done a lot of quilting in my lifetime, but it has always fascinated me. I really like seeing how you go about this process and you have chosen a really nice pattern. I’m looking forward to part 3! 🙂
Thanks Michelle. This is my first attempt at making a patchwork quilt, I thought it best to start with a small one! I hope to get it finshed tomorrow then all I have to do is wait for the baby to arrive. 🙂
Wonderful post. I like that you have pictures posted illustrating what you are doing. It makes It very easy to follow.
Thanks Liam. My aim is to get more people sewing (men too), if I can make it look simple (which it is) then more people will be encouraged to give it a try! 🙂
This quilting seems to be easier than I thought, maybe its something I could attempt for my new baby that’s due next year. However I think that the Sew-Easy Patchwork Quilting Ruler is a must for me
It is fairly straight forward but yes, I think a quilting ruler would make the job easier.
Congratulations on your impending arrival, make sure to visit upcycled baby clothes often for more projects to make! 🙂