I don’t know how to patchwork quilt so take this journey with me and we’ll work together to create a patchwork pram quilt. I have another Grandbaby on the way and thought this would make a great gift. There are plenty of tutorials and advice, I’ve already done my research, and am ready to get started!
I’m going to do this ‘How to patchwork quilt’ tutorial in 3 parts. This will give us time to complete each part before moving onto the next.
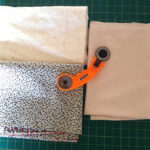
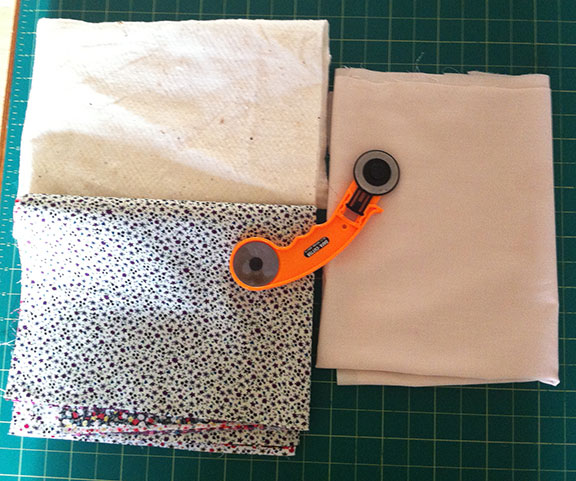
I have the materials that I need having taken advantage of the special offer from Hobbycraft (see here) and buying the half price fat quarters (Fat quarters are usually 56cm wide x 50cm, (22 inches x 18 inches)). I’m using an unwanted quilt cover for the backing and some of the patchwork squares.
What is a Patchwork Quilt?
A quilt is described 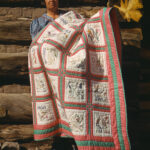 as being a type of blanket composed of three layers. A top layer, a layer of batting or wadding in the middle and a fabric back. Quilting is where the layers are stitched together with either simple or very elaborate patterns. (Image “Russellquiltera” by Russell Lee Courtesy of Wikipedia)
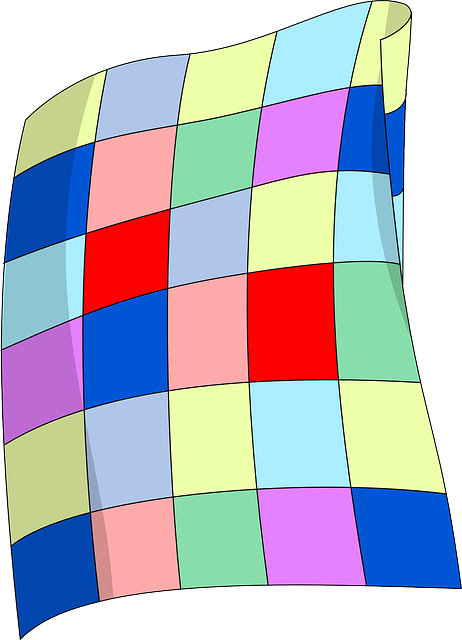
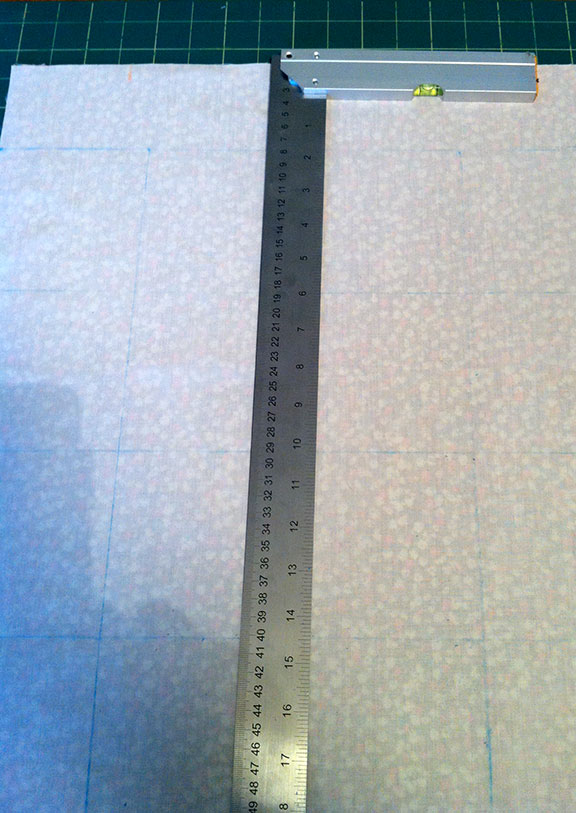
Patchwork is described as 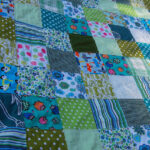 needlework that involves sewing geometric pieces of fabric together to form a large piece. Generally the larger piece is based on repeating patterns built up with the fabric shapes. The simplest form is squares, which you can see in this image.
So, a patchwork quilt is using the pieced patchwork to form the top layer of your quilt.
Of course, there is much 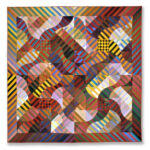 more to this kind of sewing. There are some beautiful examples like the picture on the right. (“Korea-Joseon-Bojagi-01” by by angela n.)
I’m keeping it simple for my first attempt by using a basic square patchwork.
Lets get started.
Based on an existing pram cover I’ve decided to make my pram quilt 61cm x 81.4cm (24″ x 32″) with each square being 10cm (4″)
If I’ve done my calculations correctly that means I’ll need 48 squares. There’ll need to be a seam allowance added so I’ll add 1.27cm (1/2″) to each square.
Materials.
- A piece 61cm x 81.4cm (24″ x 32″)
 for the backing.
 - A piece of wadding/batting 61cm x 81.4cm((24″ x 32″).
- Colourful fabric for cutting the squares. I’m using two of the fat quarters mentioned earlier plus a one fat quarter cut from the backing. So that’s three fat quarters.
- Rotary cutter and self-healing mat (optional, you can use scissors).
Instructions.
The next step is vey important; IRON YOUR FABRIC! For accuracy when sewing the squares together this needs to be done. You’ve cut out your backing and wadding piece so now it’s time to cut out the squares. There are special patchwork and quilting rulers for this, like this one here Sew-Easy Patchwork Quilting Ruler 24×6-1/2in. I don’t have one of these so I’m going to mark out the squares with tailors chalk and a mitred ruler.
Lay the three fat quarters on top of each 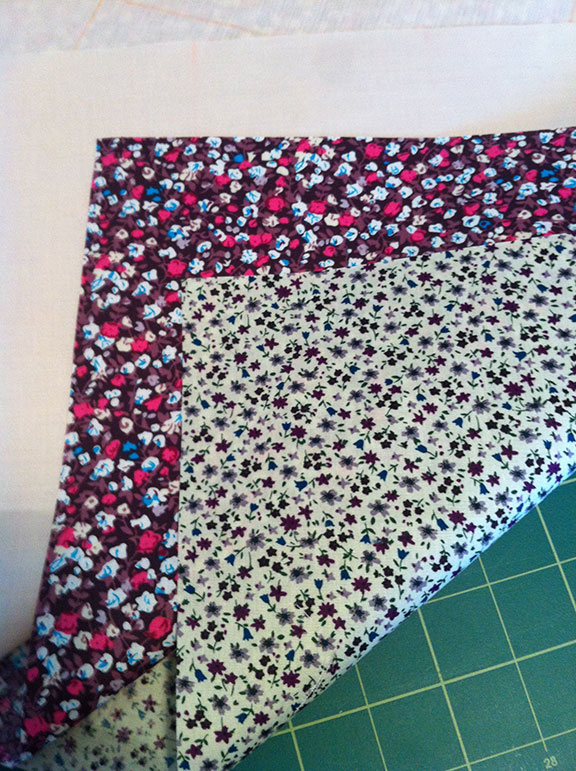 other and mark out 48 x 11.27cm (4.4″)squares.
Once you have all the squares  marked out it’s time to start cutting. Cut along the long length first. You’ll then have 4 separate lots of fabric. Cut along the markings you made earlier to form the squares.
You should now have 48 neatly cut squares ready to start forming the patchwork.
The next step is to lay out the squares in the pattern you want to sew them. That will be covered in Part 2 of How to Patchwork Quilt.
I’m really enjoying learning and will definitely want to do more patchwork quilting. I found this great resource where you can download all the quilting patterns you want – it’s FREE!
If you have any questions or comments about this tutorial please comment below or contact me.
Hi Kathy, my granny used to make patchwork quilt for my sis and I when we were young. She has passed on and I really missed her patchwork quilt. I love the feel and it was some comfy. Well…. I may want to try making one. Thanks for the great article. I love it.
Thank you and what a lovely memory to have. Perhaps you should try making a patchwork quilt then, when you have Grandchildren they’ll have some lovely memories too. 🙂
I showed this to my grandmother and she absolutely loved it!
Glad she liked it Jesse. I’m halfway through part 2 of how to patchwork quilt and will be posting it within the next couple of days. 🙂
I always associated patchwork quilts with the square patches, it never occurred to me that there could be other patterns until I saw this post! Something to work up to I guess, once I’ve mastered the basic square patch version! Thanks for the detailed and easy to follow guide.
I was the same till I started researching, there are some beautiful examples out there! I’ve no idea how this will turn out, I’m sharing step by step as I learn how to patchwork quilt myself. Thanks for the positive comment. 🙂
you did a great job of taking a newbie like myself by the hand and walking me through step by step. although i’ve never considered quilting after reading your post i almost secretly want to see what i could do 🙂
Thanks Kary. I think more men should take up sewing and I’m planning an article about that subject! I think what puts most people off sewing is that it look complicated, I hope my tutorials change that view. 🙂
You are so crafty! What a lovely gift this will make. Your grand baby will have a beautiful blankie. Awesome job Kathy 🙂
Thanks Viola. I haven’t done patchwork quilting before so I’m learning as I go. I have lots of pretty fabric scraps and plan on making more, as you say they make nice gifts. 🙂
Enjoyed the information you posted. Hand made quilts reminds me of my grandmother who would make patch work quilts for her grandchildren. Your post was easy to follow and read.
My 2 Grandmothers both sewed and taught me at their knees (along with knitting). They would make patchwork quilts from worn out clothes, in those days a necessity rather than a hobby. Thanks for the positive comment Freddie. 🙂
Very clear and easy to follow instructions, the site very visually appealing which is a plus, can’t wait to see how this projects completes.
Best wishes.
Ty
(question: what’s the name of your website theme?)
Thank you, it’s good to get feedback when you write instructions. I try to write so they’re easy to understand. I hope the project will end in a nice quilted pram blanket! 🙂
(The theme is purple modena)
you make it easy to follow
That is my intention, thank you David. 🙂
Hello Kathy, so great to see, those patchwork blankets, really love them, Loes
Hopefully this patchwork quilt will reach a successful conclusion! 🙂