Baby Lilly needs burp cloths, she goes through so many! I made this project up as I went along but they really are “easy make burp cloths!” I followed the same simple method that I used for the taggie blanket, only difference being I didn’t add the tags. I made 2 and it only took me 30 mins, including the ironing.
Materials
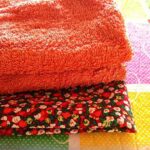
I used some face/wash cloths my Mum gave me when she was having a clear out for the back. A simple square shape and perfect for making a burp cloth. For the top I had a couple of fat quarters left from the bundle I’d bought for a previous project.
Instructions
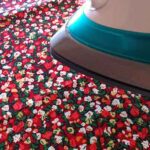 First, most important, iron your fabric. I repeat this on every tutorial because I used to take shortcuts and think it didn’t matter, wondered why pattern pieces were the wrong size! Another tip, keep your iron clean and if its past it’s best and keeps sticking, think about replacing. There’s nothing more annoying than ruined fabric because of sticky iron.
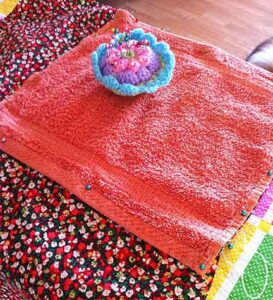 Lay your fabric on the table right side up then pin the face cloth to it. Cut around the edge so you have equal size square of face cloth and fabric. I didn’t bother getting the rotary cutter and cutting mat out for this small project, just used the ironing board and scissors.
Do you like my cute pin cushion? My sis crocheted it for a Christmas present, I love it!
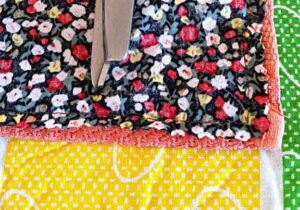 You’ll now be ready to get straight to the sewing, your fabric is already pinned from the previous cutting step. Sew 3 side and halfway up the 4th leaving an opening for turning right sides out.
Trim the cotton edges with pinking shears to stop fraying. The face cloth already has bound edges so won’t need to be trimmed. I could have taken my overlocker/serger round the edges at the start but wanted to demonstrate how you could make this with basic tools and a basic sewing machine.
Turn the fabric right sides out through the gap left in the previous step. Press, turning in the ends of the open gap then top stitch all the way round.
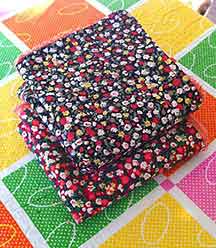
I plan to run up some more this week, make sure Lilly has a good supply!
If you’ve any questions or suggestions feel free to contact me, or leave a comment below.


Kathy, after reading this tutorial I almost feel ready to go ahead and sew my first burp cloth. The instructions are so clear and the images are so illustrative that it looks doable for me. You are right, ironing the fabric must always be the first step. Thanks for the lesson!
Hilda
Thanks Hilda, I’m glad you enjoyed the easy make burp cloth tutorial, very simple to do!
That’s really helpful and very useful. Can save some money making homemade ones.
Glad you found the Easy Make Burp Cloth tutorial useful Mel, if there are babies around you can never have enough! Thanks for leaving a comment. 🙂
Great step by step information and tips here.You are making a great site and I visit you often. Thanks for all the wonderful ideas.
Chris
Thanks Chris, great you enjoyed your visit and found the easy make burp cloth tutorial easy to follow. 🙂
Very nicely organized and a good tutorial on easy make burp cloths, well done!!!!
Glad you enjoyed your visit Jim, these burp cloths are super simple to make, thanks for the comment. 🙂
Nice information about Burp Cloths. Especially for people who have many children!
You can never have enough burp cloths when you have babies. Using upcycled fabric is a great way to make them! Thanks for the comment. 🙂
Hi Kathy,
As always, a great idea! It also looks super simple to make!
Angela
Thanks for the comment Angela. I’d have started making burp cloths earlier if I’d known they were so easy! 🙂