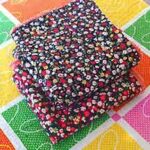
Easy Make Burp Cloths
Baby Lilly needs burp cloths, she goes through so many! I made this project up as I went along but … Read more
Baby Lilly needs burp cloths, she goes through so many! I made this project up as I went along but … Read more
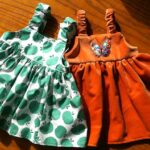
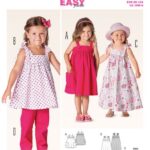
I was searching for a free baby dress sewing pattern (I’m using this resource while I learn how to make … Read more
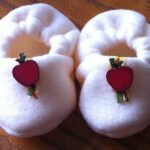
As promised I’m going to show you how to make plush baby booties like these, and the ones in an … Read more
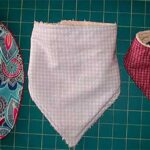
Bandana Bibs are simple to make and great for making use of fabric scraps and towels. You can use left … Read more
A few weeks ago I picked up some bedding at a charity shop, bargain at £1.99, loads of fabric in … Read more