
I did say I was going to do some tutorials on the “Home made Christmas Gifts” page and a wall organizer can make a useful and adaptable gift for anyone.
I made this one with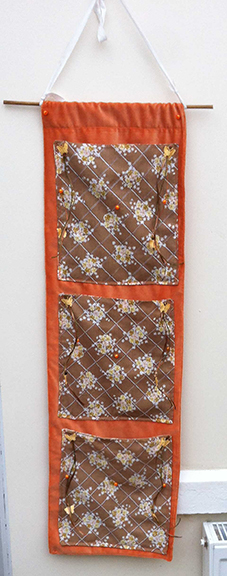 fabrics I had to hand being an avid upcyler but you can really let your creativity lose and choose according to who you’re making it for. A wall organizer will even work in a garage if you use stong fabrics so there’s an idea for the men in your life!
I gathered my materials together: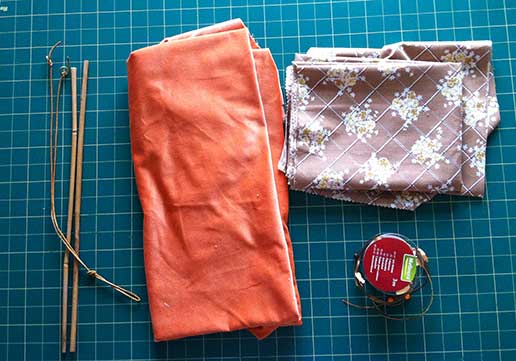
- Cotton velvet and printed cotton, I’m sure you recognise them from other projects, after all this blog is all about upcycling!
- A piece of cane cut according to the size you make.
- A piece of strong ribbon or thick string, cut depending on low you want it to hang.
- I used gift ribbon for embellishing but you can use anything for this.
You can make this any size you wish, just adjust the following measurments to suit.
Cut out: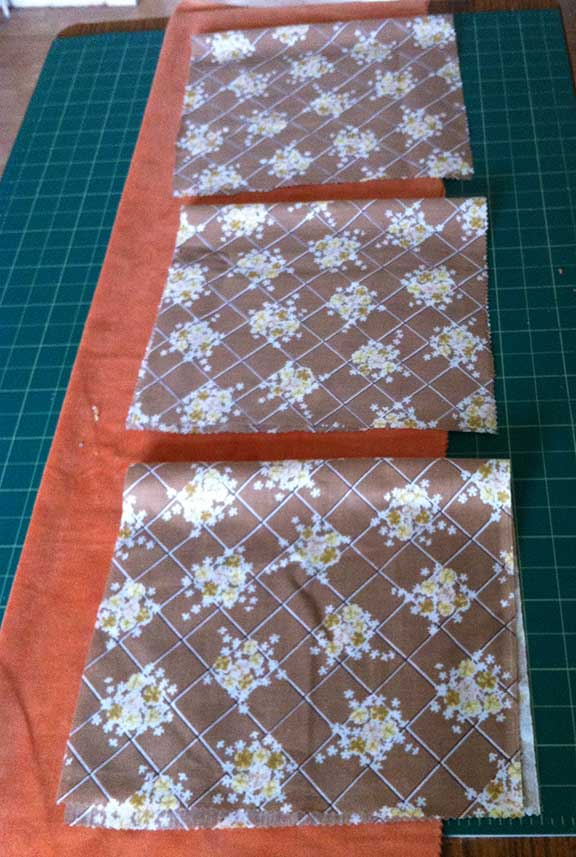
- 61cm x 102cm of velvet (any strong fabric will do for this)
- 3 pieces of cotton 25 x 50cm (any non stretch sturdy fabric will work)
Fold the velvet in half lengthwise right sides together and pin then fold the cotton in half right sides together and pin.
Sew 3 sides on all the pieces 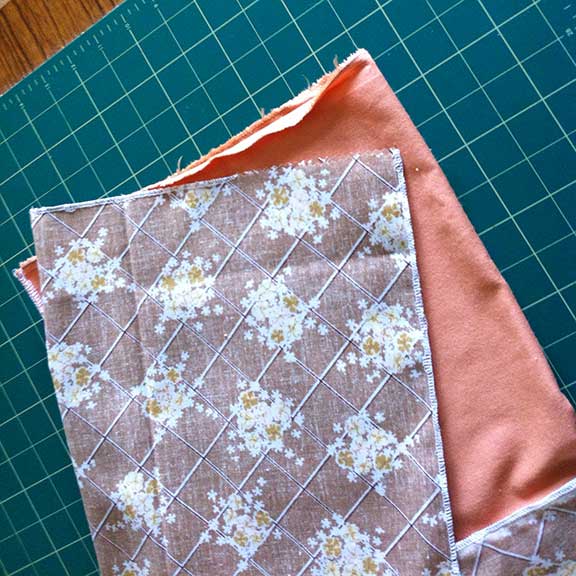 leaving an opening for turning right sides out. Finish off the seams either with overlocking, pinking shears or the zig zag stitch on your sewing machine.
Turn right side out then press 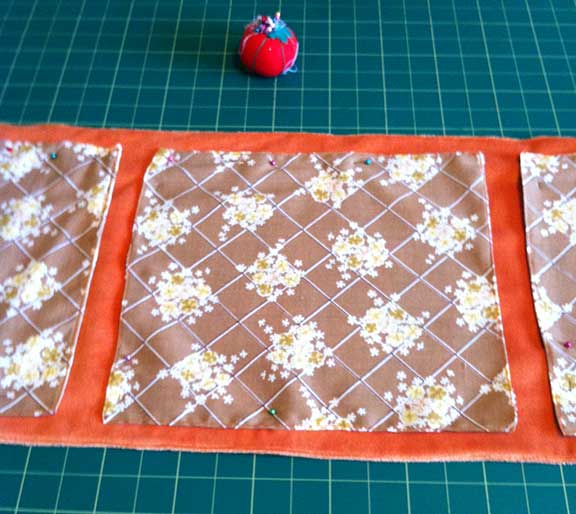 and topstitch all pieces. If you’ve been reading my other posts by now you should recognise a common theme, squares and rectangles doubled and topstitched. There are lot’s of useful items to be made this way!
Make a hem at the top of the velvet piece to hold the cane.
Pin the 3 cotton squares evenly down the length of the velvet. This is where you’ll see how accurate your cutting and sewing has been so far. I will blush here and admit I got somewhat distracted, making it trickier to line everything up! Stitch them onto the velvet leaving the top open (for putting things in). I used a zig zag stitch for this to add more interest (the photo doesn’t show it too well).
Then it’s time to add your 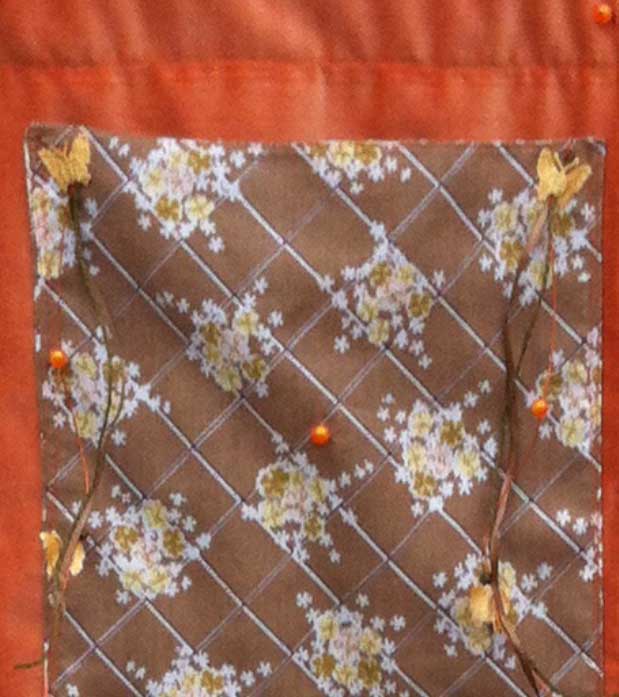 embellishments to suit the recipient of your gift. Buttons work well as do scraps of cloth and ribbon.
Thread the cane through the hem then make a loop at each end of the thick string and hook one over each end of the cane.
And there we are, the simplest of gifts and these wall organizers can be made for every room by using colours to suit your theme.

What a great idea! I need to make one of these Wall Organizer for my kids’ room! I like to keep things organized. Thanks for the idea!
I love sewing these wall organizers Claudia, they’re easy to do and it’s a great way to upcycle old fabrics. Drop me a comment or contact me when you’ve made one I’d love to see it. 🙂