
Yesterday I had an idea about making  my own plush baby toy but wasn’t quite sure how I would implement it. I did a Google search (don’t you just love Google!) and found this tutorial.…..DING……the ideas started coming in.
Now I had some fleece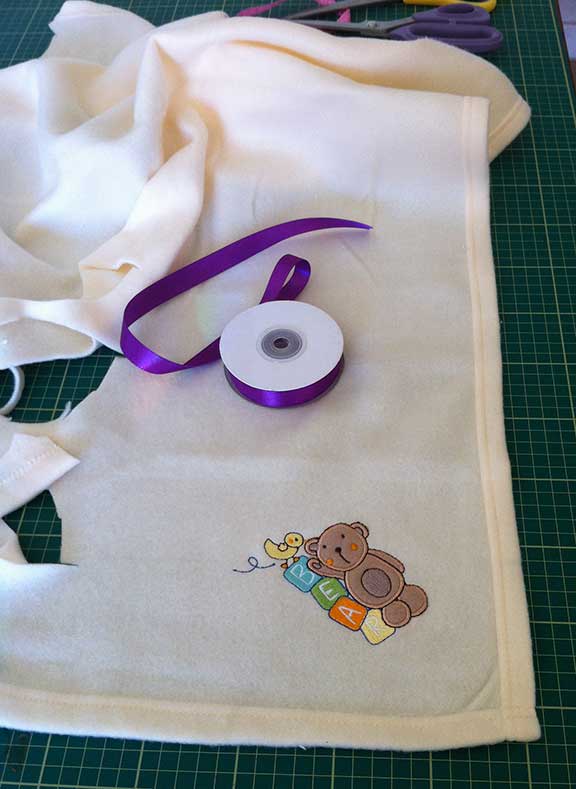 left from the booties I made in a previous post (here) and you’ll know by now that I like to get the most out of everything! This bit of fleece started life as a baby blanket, cost £2.45 and I’ve already made 4 items out of it.
I decided to incorporate the teddy bear embellishment for this one. I also decided to use the purple ribbon I had in my stash but you can use your imagination here, even do different shapes if you wish. I had a cushion I no longer needed so took the stuffing out and used some of that. No purchases needed for this upcycled project!
I used a 6″/15cm bowl and drew around it 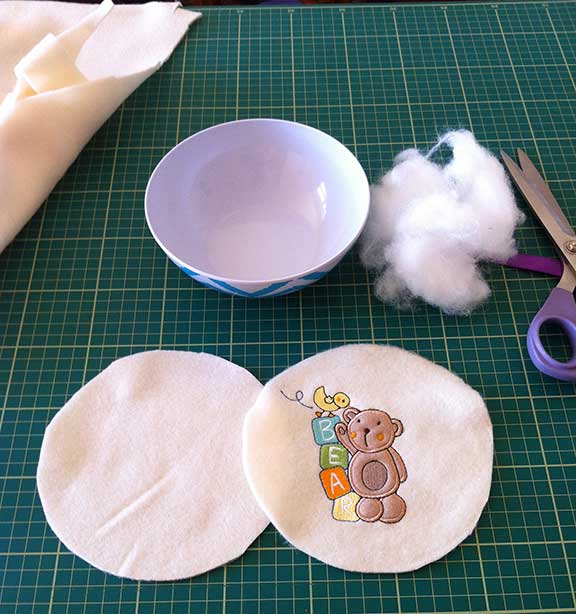 with tailors chalk to cut 2 circles.
The next step is to cut your  pieces of ribbon, (mine were about 5cm) then fold each piece in half and lay on the bottom piece of the plush fabric. Lay the upper piece right sides in on top then pin making sure you also pin the ribbon. The folded end goes in towards the middle and leave a small bit sticking out over the edge.
Leave a few cm open, this is 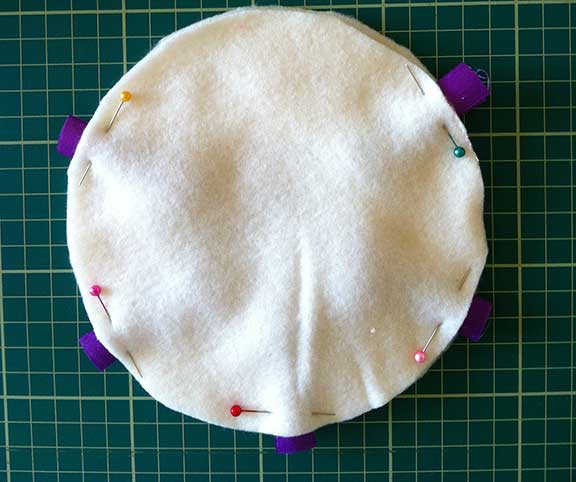 where you’ll turn right sides out, put your stuffing in and add the piece of ribbon for hanging.
Carefully sew where you’ve 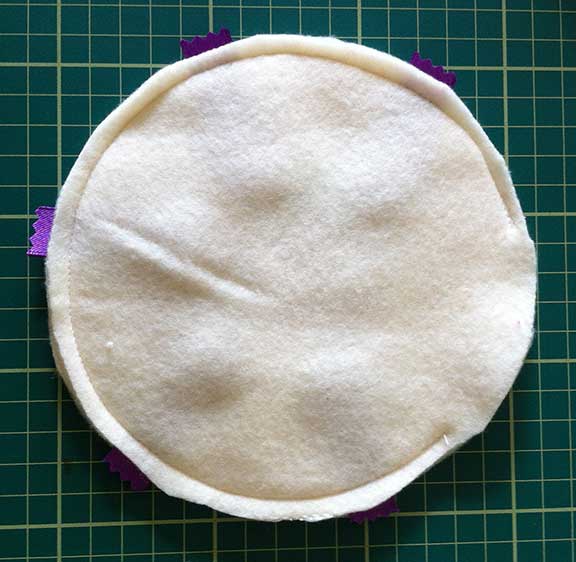 pinned it, I put the machine on slow speed when I’m doing anything circular for more control. Remember to leave the end open.
Turn right sides out and stuff, 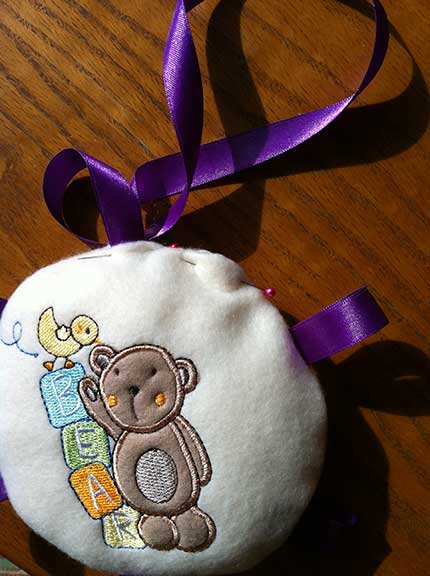 don’t stuff it too tight, you want it to feel a bit “squeeshy!” Cut a longer piece of ribbon, length depending on where you’re hanging it then, pin into the opening at the top at the same time turn the edges in and pin.
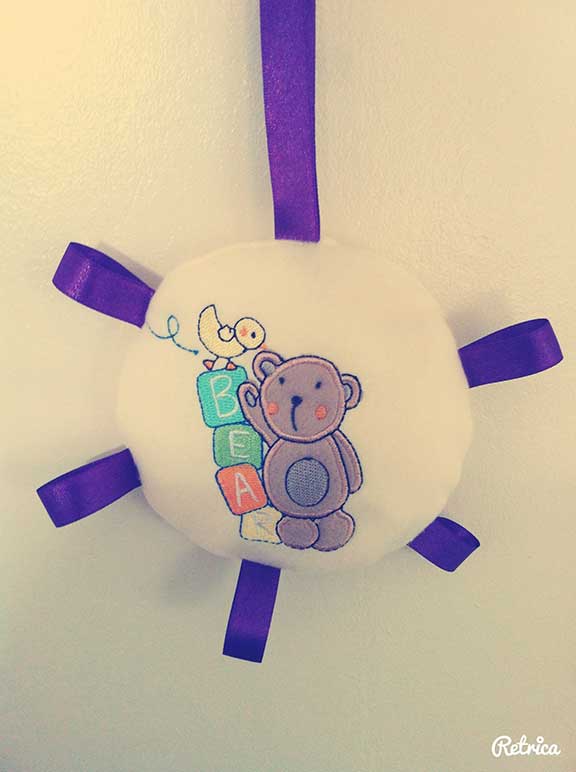
I machine stitched this part but in hindsight it might have been a bit neater hand sewing it. And that’s it, a simple plush baby toy which took around 1 hr to make! You could make a few of these with different shapes and colours and hang them from a baby bouncer handle, no need to purchase expensive toys!
bookmarked!!, I like your web site!
Thank you!
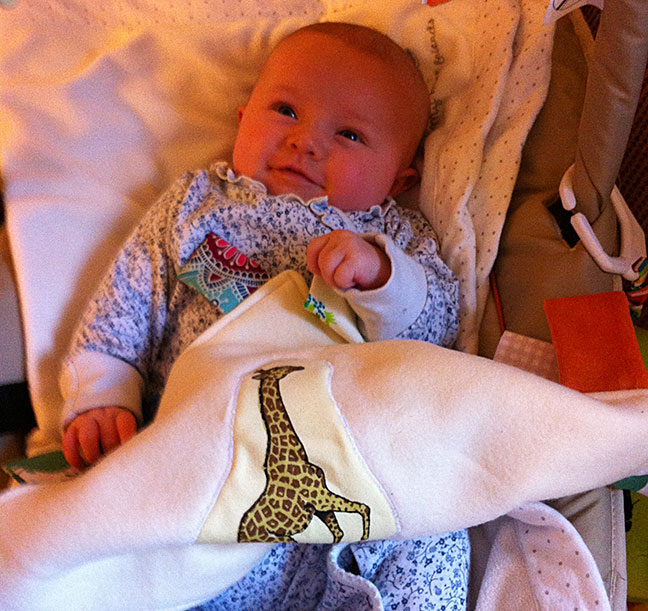
Lilly had this toy attached to her bouncer last nightand kept grabbing hold of the ribbon, you could see the concentration when she managed to grab it. It’s quite big, which is better as it makes it easier for her to see/hold it. I’ll get a photo of it in use 🙂
Oh that’s good, that was my intention when I made it. I wanted it to be big enough for tiny hands and squinty baby eyes to grab and see! 🙂
Hi Kathy,
You had a wonderful idea. And the final product looks so nice. I think you can even attach a little bell, for some more fun. 🙂
I’ve always admired people who were not afraid of actually producing things with their own hands. And enjoying the whole process, not to mention the joy it brings on people’s faces.
Way to go, Kathy!
laura
That’s a good idea Laura, never thought about adding a bell, thank you! I’ve alaways enjoyed making all sorts of things and just this morning I’ve made apple jelly (a kind of jam), wholewheat bread and some orange clove balls for Chritmas presents!
Hi, Kathy. It is lovely baby toy. 🙂 It is great when I can learn step by step with images provided. Well done! 😀
Thank you. 🙂 It really is simple to make and you can make a few using different fabrics for baby to have different tactile sensations.
Great idea and really simple tutorial!
I think I can do it too.
It’s nice to get the most out of everything. 🙂
I like the simplicity and even if you don’t use a sewing machine it would be easy to sew by hand. 🙂
Great toy to hang from Lilly’s car seat!
That’s what I thought, it’s very tactile too with the wee bit of ribbons round it. 🙂
What a great idea, and so simple. When does the book come out?!
Good gracious, I haven’t even thought about doing a book, I reckon I’d need some sort of ghost writer for that!