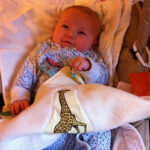
Plush Baby Toy
Yesterday I had an idea about making my own plush baby toy but wasn’t quite sure how I would … Read more
Yesterday I had an idea about making my own plush baby toy but wasn’t quite sure how I would … Read more
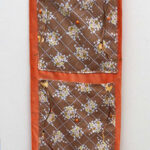
I did say I was going to do some tutorials on the “Home made Christmas Gifts” page and a wall … Read more
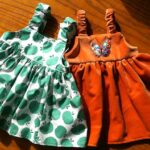
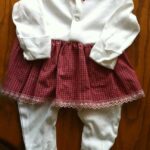
I was searching for a free baby dress sewing pattern (I’m using this resource while I learn how to make … Read more
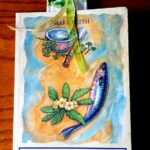
In our busy lives it’s always nice to find time to sit and read a good book. It’s also … Read more
After searching for some fabric suitable for my latest project I located a curtain pelmet which I’d stripped down into … Read more
Babies spend a lot of time in sleepsuit/onesies, they’re easy to get on and off a wriggly squirming baby! … Read more
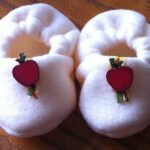
As promised I’m going to show you how to make plush baby booties like these, and the ones in an … Read more
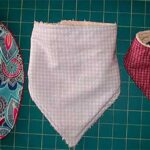
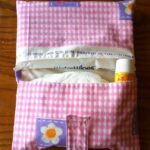
Bandana Bibs are simple to make and great for making use of fabric scraps and towels. You can use left … Read more
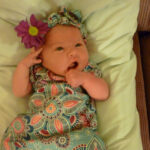
As I mentioned on the “About” page, I ‘ve a grandaughter due (6 days and counting UPDATE – SHE’S ARRIVED!) … Read more
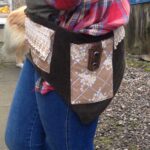
Ever seen a cool looking festival/utility belts, you easily make your own with an old pair of trousers and scraps of … Read more