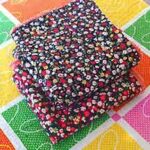
Easy Make Burp Cloths
Baby Lilly needs burp cloths, she goes through so many! I made this project up as I went along but … Read more
Baby Lilly needs burp cloths, she goes through so many! I made this project up as I went along but … Read more
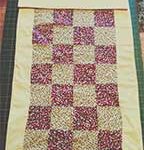
We finished How to Patchwork Quilt – Part 2 with the patchwork completed and now it’s time to move onto … Read more

In How to Patchwork Quilt – Part 1 we finished by having fabric squares prepared ready for piecing together. How … Read more
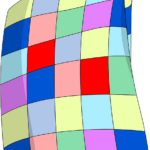
I don’t know how to patchwork quilt so take this journey with me and we’ll work together to create a … Read more
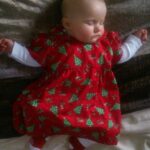
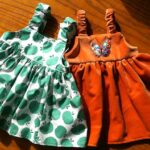
I was thinking about making a baby Christmas dress for Granddaughter Lilly and wondering about fabric when this appeared at … Read more
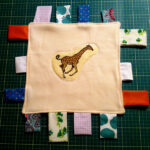
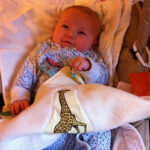
A baby taggie blanket can be so expensive to buy, so why not have a go at making one? These … Read more
Yesterday I had an idea about making my own plush baby toy but wasn’t quite sure how I would … Read more
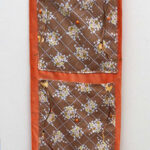
I did say I was going to do some tutorials on the “Home made Christmas Gifts” page and a wall … Read more
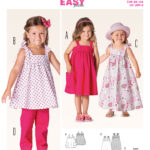
In this article I’ll explain how to read sewing patterns, they can be confusing if you’ve never used one before. … Read more
I was searching for a free baby dress sewing pattern (I’m using this resource while I learn how to make … Read more